Reply With Quote
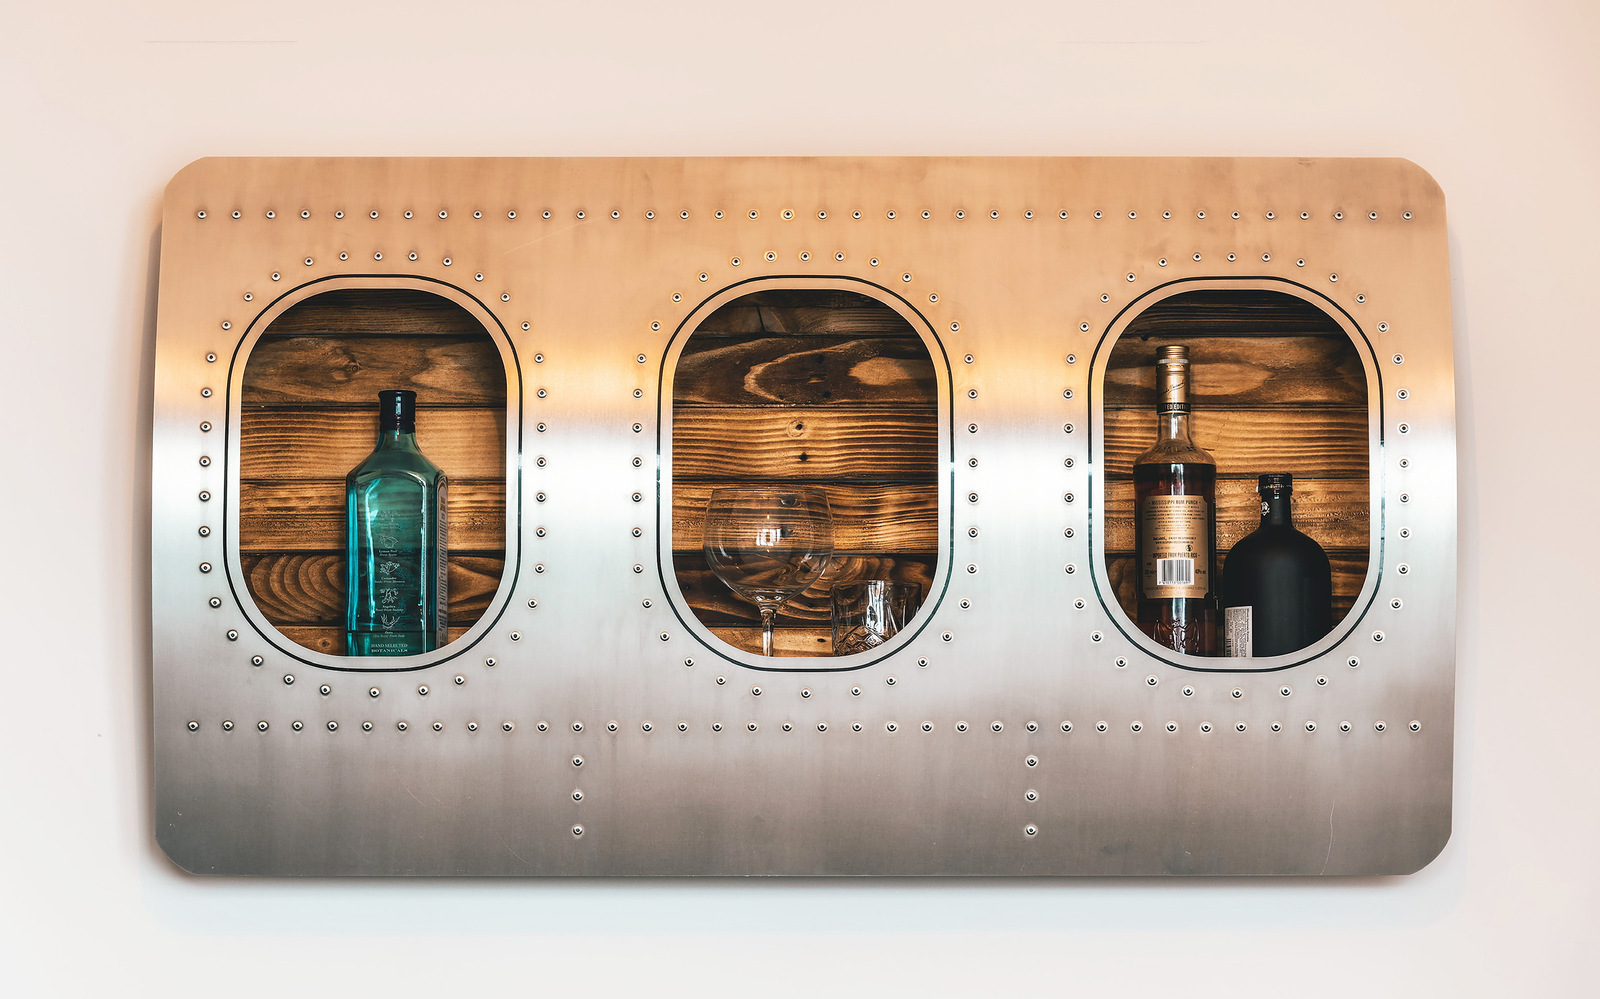
My initial thought would be 2x parallel battens just spaced slightly off the wall, one that has the lower section hooking over it and the second one allowing the right-angled higher section to slot under the batten.
Whatever mounting solution you adopt it'll be a great feature!
R
PS Metal paint to cover the edges.