closing tag is in template navbar
timefactors watches


TZ-UK Fundraiser
Results 1 to 7 of 7

Thread: My first time stripping... (Image heavy)

  1. #1
    Master
    Join Date
    Oct 2018
    Location
    Hertfordshire
    Posts
    2,794

    My first time stripping... (Image heavy)

    ... down a watch.

    Thanks to the generosity of three forum members I have a good selection of mechanisms with which to practice tinkering (perhaps it would be better described as horolocide). Having done some research it turns out that one of the popular mechanisms for a beginner to practice on is the ETA/Unitas 6497. Seagull do their own version, the Seagull ST-3600 and, as luck would have it, the MM which Russ sent me has that very mechanism (look away now Russ if you don't want to see what happens next ).

    Apologies for the poor photos but I wasn't set up for HD imagery.

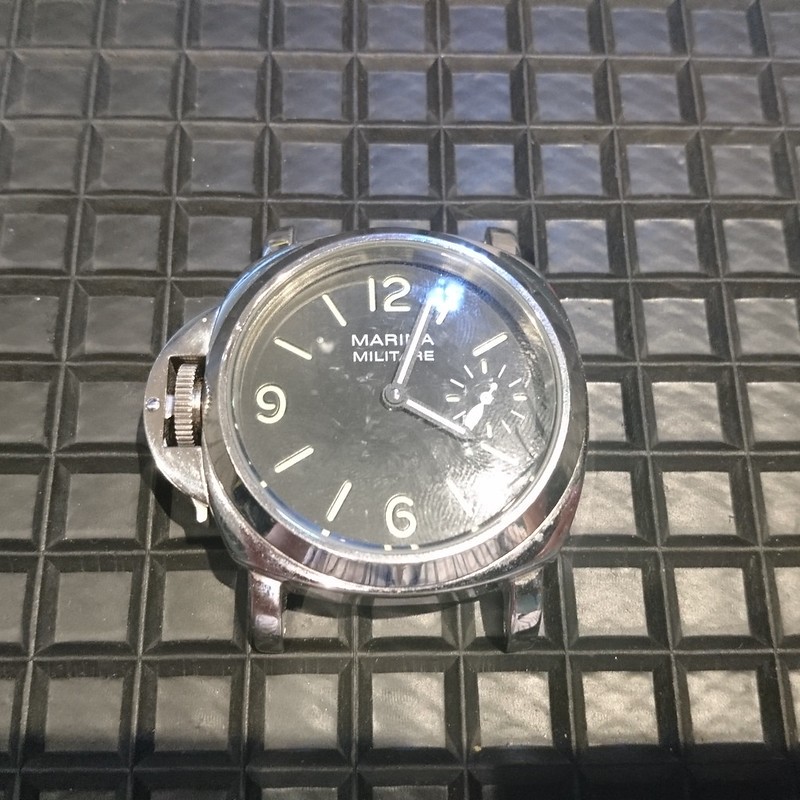
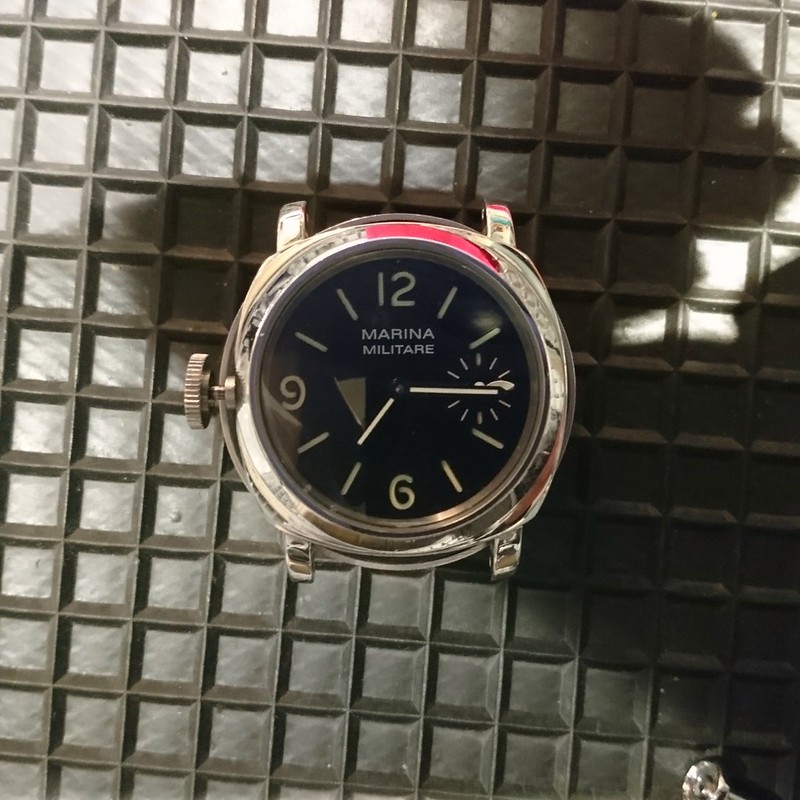
    So here is the first patient in theatre:

    on Flickr

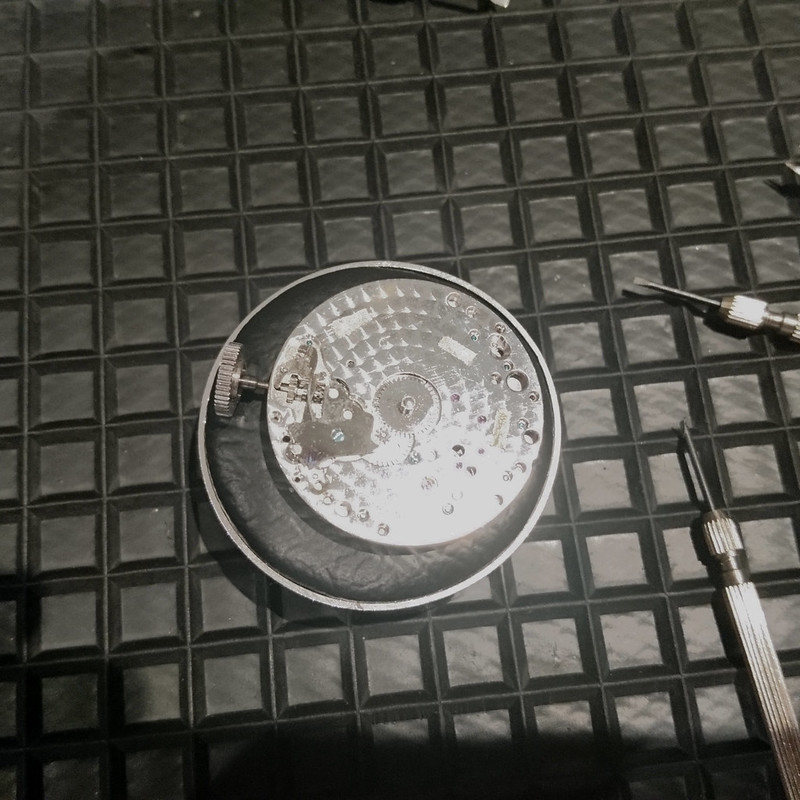
    First of all the mechanism needs to come out of the case which, with the help of a friction ball, is relatively easy. I couldn't help thinking that there ought to have been a mechanism ring as the mechanism is slightly loose in the case. Here it is naked:

    on Flickr

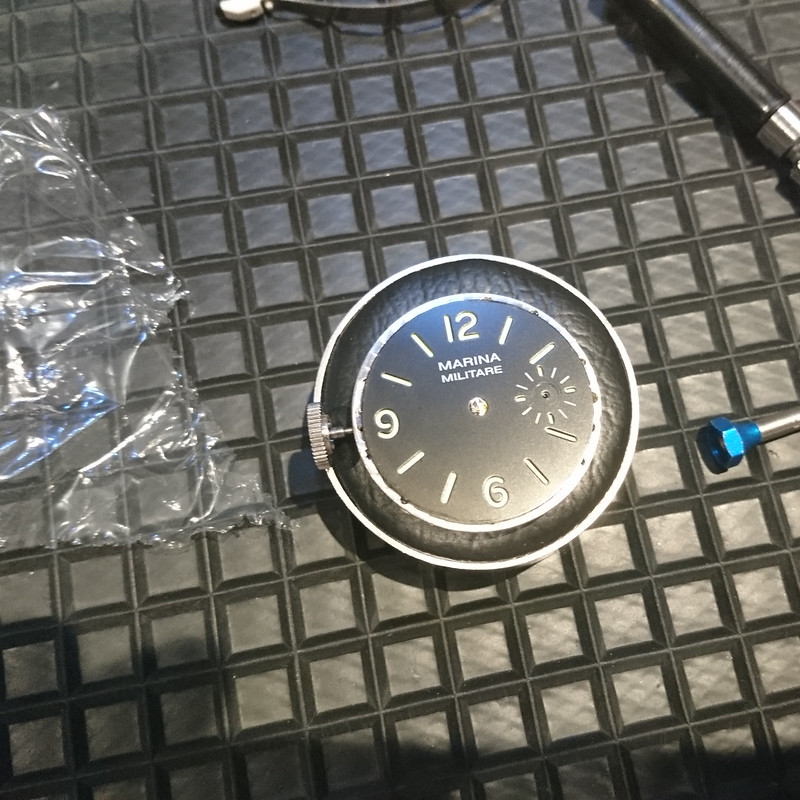
    Now for the bit I was most nervous about, taking the hands off. I have both the traditional style and the presto style of hand lifters. I found the presto style to be more manageable. Hands off and no damage to the dial (that sub second hand was not easy):

    on Flickr

    Now to get the dial off. Apparently two little screws need a slight turn and the dial should come off. Nope nothing doing. Half an hour of turning said screws in tiny increments only to discover that the dial is stuck on. With a little persuasion it comes unstuck.

    The helpful video on Youtube suggests that I should start on the bottom plate and remove the hour wheel and the cannon pinion (which needed a bit of persuasion). Then the incablocs before gently winding down the power reserve.

    Over to the top plate and off come the balance wheel and escapement:

    on Flickr

    Next the keyless works. One bent screwdriver blade later (should have realised that the crown wheel screw would have a reverse thread):

    on Flickr

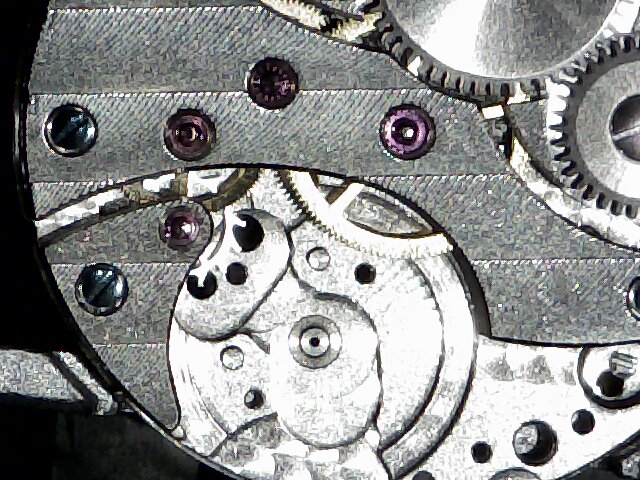
    A few more screws, bridges and wheels later the top plate is clear:

    on Flickr

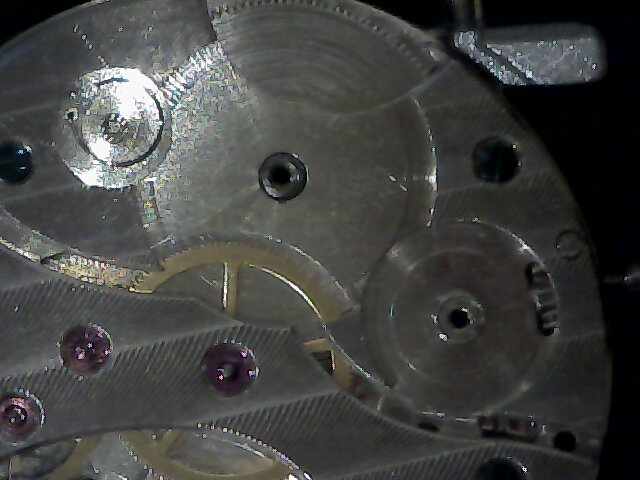
    Next, flip the movement over and continue working on the bottom plate, which looks a little something like this:

    on Flickr

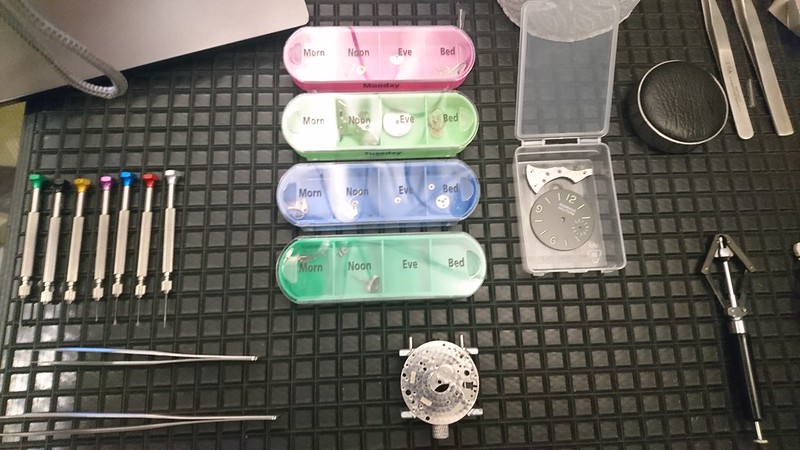
    Not as much to take off and so off it comes. The video didn't suggest that the I take off the set lever but, flushed with my success, I went a bit off piste and off it came anyway (a decision I would come to regret). However I didn't have the courage to take out the mainspring, I'll save that pleasure for a later date. Here is the mechanism fully disassembled:

    on Flickr

    Now, being a methodical sort of guy I thought the re-assembly would be a case of reversing the order of the steps in the disassembly. Not so according to the second instalment of the helpful Youtube video. In fact the drum is the first to go back, closely followed by the gear train. Before I started on these I discovered the results of my over-enthusiasm. Yes the set lever. That blasted little lever. It took me an hour to get it back on, struggling to work on both sides of the mechanism at the same time. After a lot of swearing and hunting for the set lever screw as it disappeared in all directions, I eventually got there:

    on Flickr

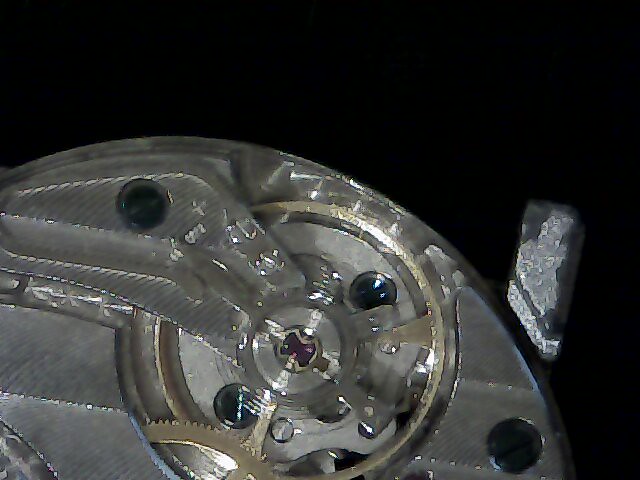
    The rest of the assembly went very smoothly. Until I got to the incabloc on the balance bridge. As I was carefully easing the clip in to position it came out of the bridge. What ensued was another hour of careful manipulation interspersed with more bad language and repeated searches for the clip which ended up in my hair, in a crease in my trousers, nestled into the fibres of the rug. Everywhere but where it was meant to go. This is when I decided to take a break. A month long break. Coming back to it with a fresh mind it took me ten minutes (and the realisation that holding the mechanism holder in my hand rather than leaving it on the table made the alignment of the clip and the mechanism much easier. And here it is,doing what it is supposed to be doing:

    , on Flickr

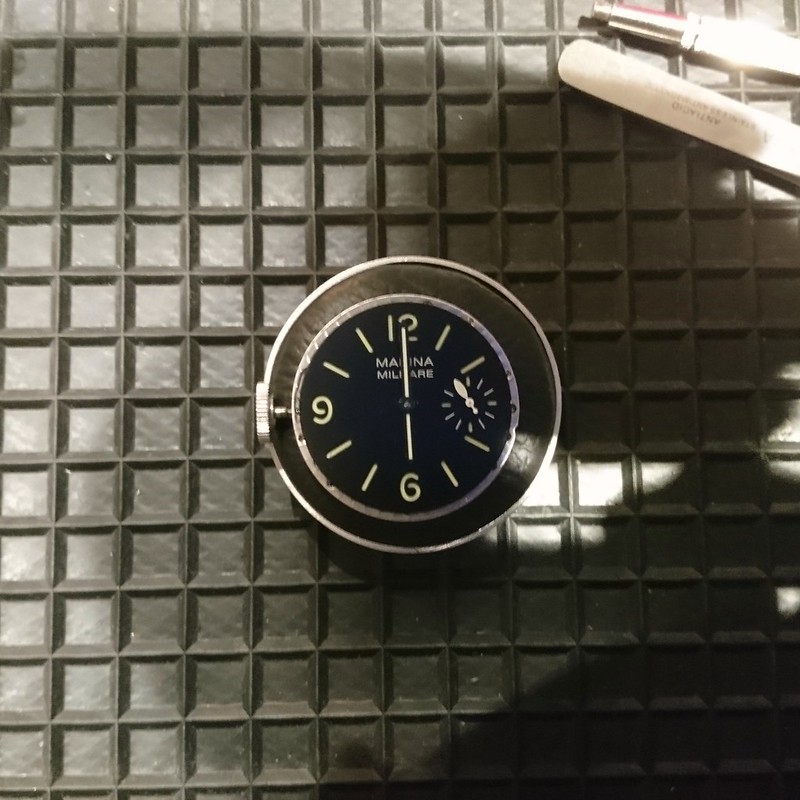
    So, on with the dial and the hands (the sub second hand was tricky again), I think I need to work on the alignment a little but difficult without indices at twelve and six:

    on Flickr

    And back into its case:

    , on Flickr

    Having removed the stem to put the mechanism back in the case it now wont fully engage, I am not sure what has happened but I am sure that someone will point out the error I have made. Otherwise I will find out when I repeat this process again. I have really enjoyed tinkering with a machine again and I even let my eight year old son help (but not with anything too fiddly). He was so enthused that, last weekend, he took one of his digital watches apart. He even managed to put it together without much help (interference) from me.

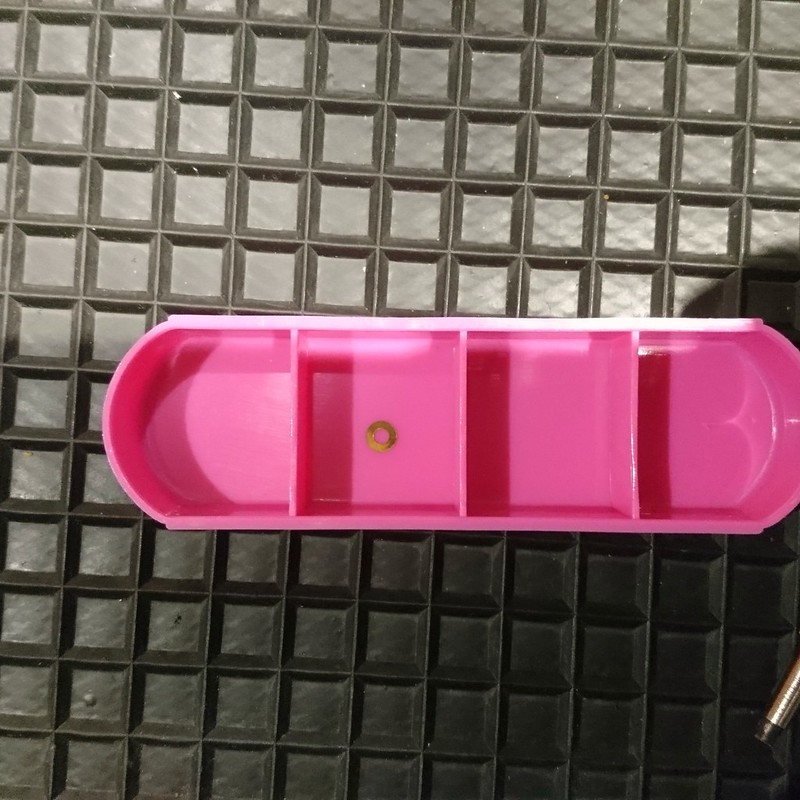
    Oh, one last thing. A rebuild wouldn't be a rebuild without the obligatory leftovers:

    on Flickr

    If I remember correctly this shim goes between the hour wheel and the dial but I am happy to be corrected by those more knowledgeable than me. I shall try to remember to replace it on my next attempt.

    If you have stuck with this post, thank you.

  2. #2
    Craftsman
    Join Date
    Feb 2008
    Location
    whitstable, kent
    Posts
    443
    Thank you for putting this up. I thought it was going to be an altogether different thread when I saw the title and, despite my obvious disappointment, it was a really good read. I wish I was brave enough to do movement work but I just don't trust myself to not throw parts all over the room! Well done!

    Sent from my [null] using Tapatalk

  3. #3
    Master alfat33's Avatar
    Join Date
    Aug 2015
    Location
    London
    Posts
    6,199
    Thanks for posting, nice to see. Like many I’ve tinkered a bit, had some successes and failures, but never stripped down a whole movement so kudos for that.

    The knowledge to work on different movements must take years to build up.

  4. #4
    Great thread, I enjoyed reading that, very worthwhile indeed.

    I like the way you included the inevitable frustrations & mistakes too with working on something so small & tricky - they are as important & insightful, in their own way, as everyone has to go through them.

    Yes, I believe you are right and that is a little washer (for want of the correct term) that is pressed to the canon pinion by the underside of the dial.

    One small tip I’ve read re fitting that infernally tricky balance shock clip, is to either use a small bit of rodico putty on piece of pegwood or similar to stop it flinging itself into the ether when trying to tweezer the end in, it alternatively to work on such tricky bits inside a clear polythene bag (so that the travel of the clip is restricted).

    Great work, I look forward to more (and if you ever feel you’ve mastered the donated movements at some point and have no further need/use of them, I’d be glad to take them off your hands please for my own practice/butchery - delete as appropriate - for a small fee/fundraiser donation or whatever you require, of course).

  5. #5
    Grand Master Der Amf's Avatar
    Join Date
    Oct 2015
    Location
    UK
    Posts
    11,966
    A very entertaining read

  6. #6
    Thomas Reid
    Join Date
    Apr 2004
    Location
    Oxford, UK
    Posts
    20,326
    Nice post. The left over appears to be a dial washer. It applies a bit of pressure to keep the hour wheel engaged (I think). With luck, there isn't enough play between the dial and hour wheel for it to be necessary.

    Best wishes,
    Bob

  7. #7
    Master
    Join Date
    Oct 2018
    Location
    Hertfordshire
    Posts
    2,794
    I'm glad you all enjoyed the post, Thank you for your comments and advice.

    I'm sure Bingo would have been even more disappointed it it had been me stripping, it would have been even further from what he'd been imagining.

    I have three different mechanisms of varying quality and the idea is to work my way through them to gain some familiarity with mechanism work before starting on my project watch, a vintage Doxa which I paid far too much for. Its going to be an interesting journey. I am also putting together some ideas for modding a Seiko. Not sure where I am going to find the time for all this.

Posting Permissions

  • You may not post new threads
  • You may not post replies
  • You may not post attachments
  • You may not edit your posts
  •  

Do Not Sell My Personal Information