I know there have been guides written before but let's face it.. People have eaten burgers before, doesn't make them never want to see one again.
I decided to switch the bezel on my SD for a fatter font variant that's beginning to mellow nicely with a brown-ish hue in certain lights.
Sourced it over a coffee from a pal who I trust implicitly so have no qualms about it being an 80s original.
Ive never done a bezel change before and quite frankly, was butt clenched for a good 5 minutes.
Anyway.
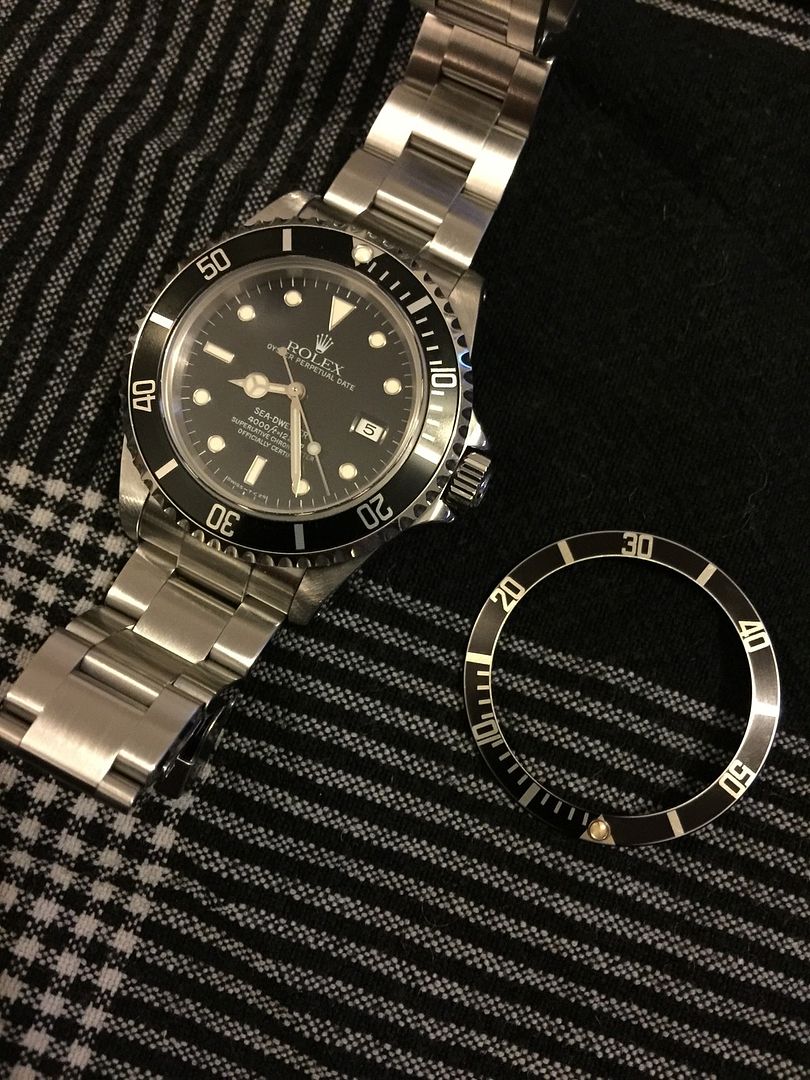
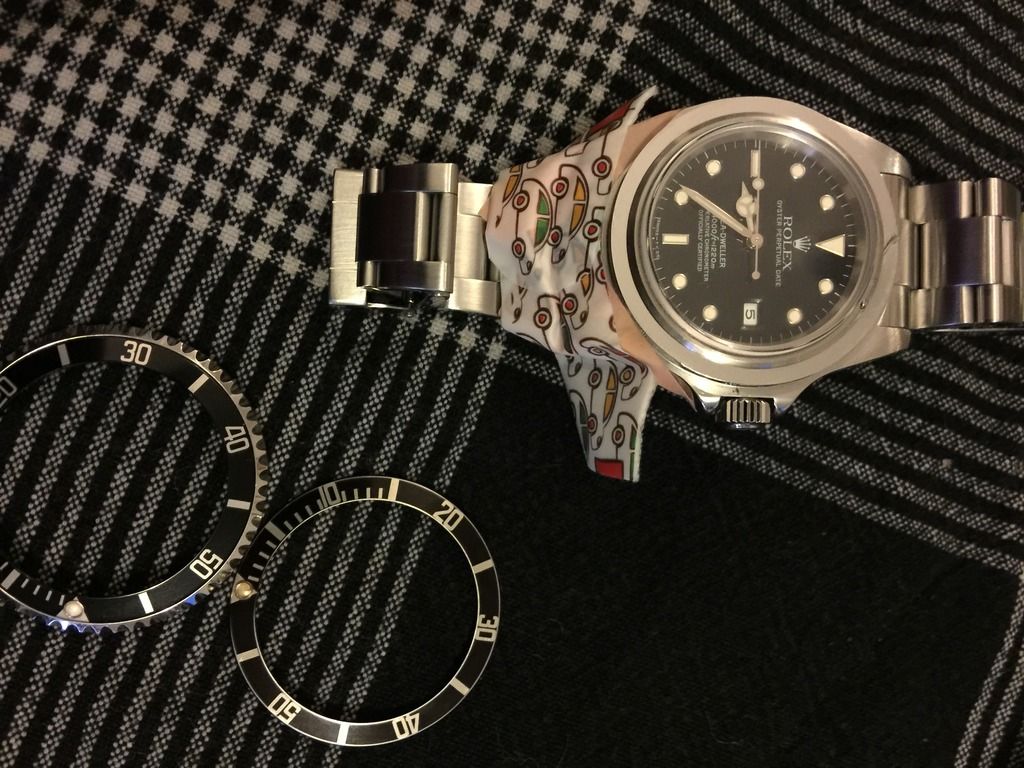
Current bezel with FF next to it.
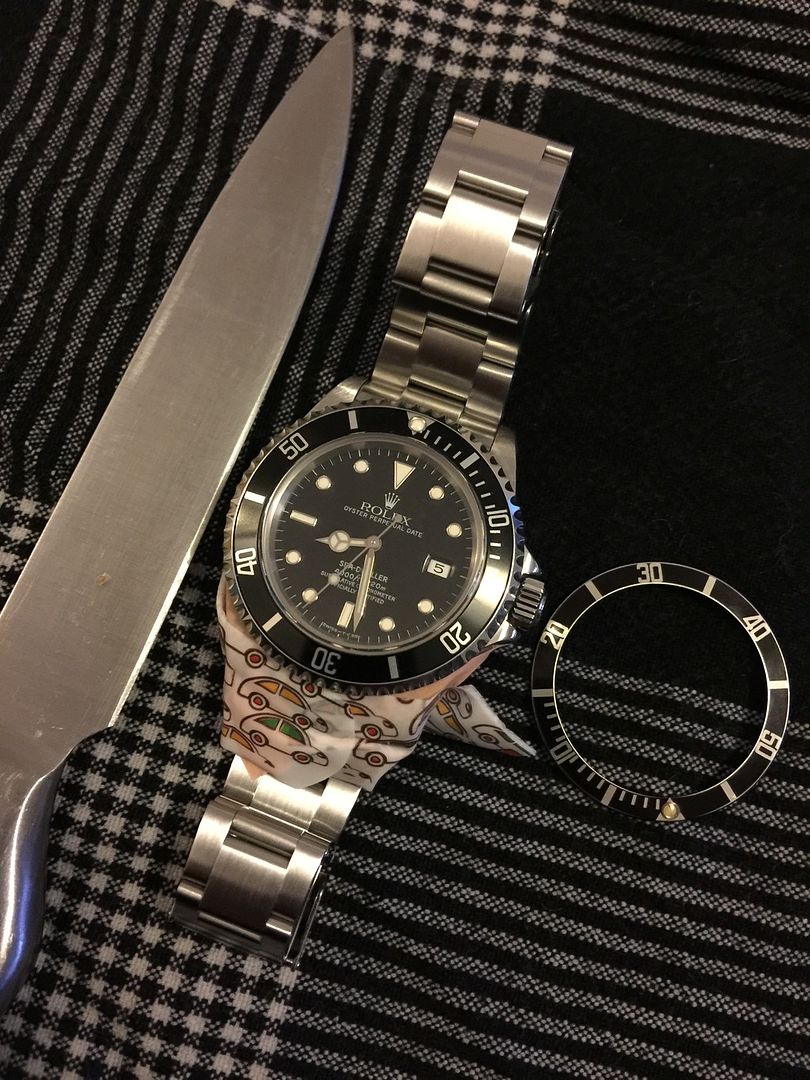
Tape up the lugs. Yes. I have children's plasters. WHAT?
Take a slim blade knife and slide it between the top of the lugs and bezel, apply light leverage and it will pop off without any arguments.
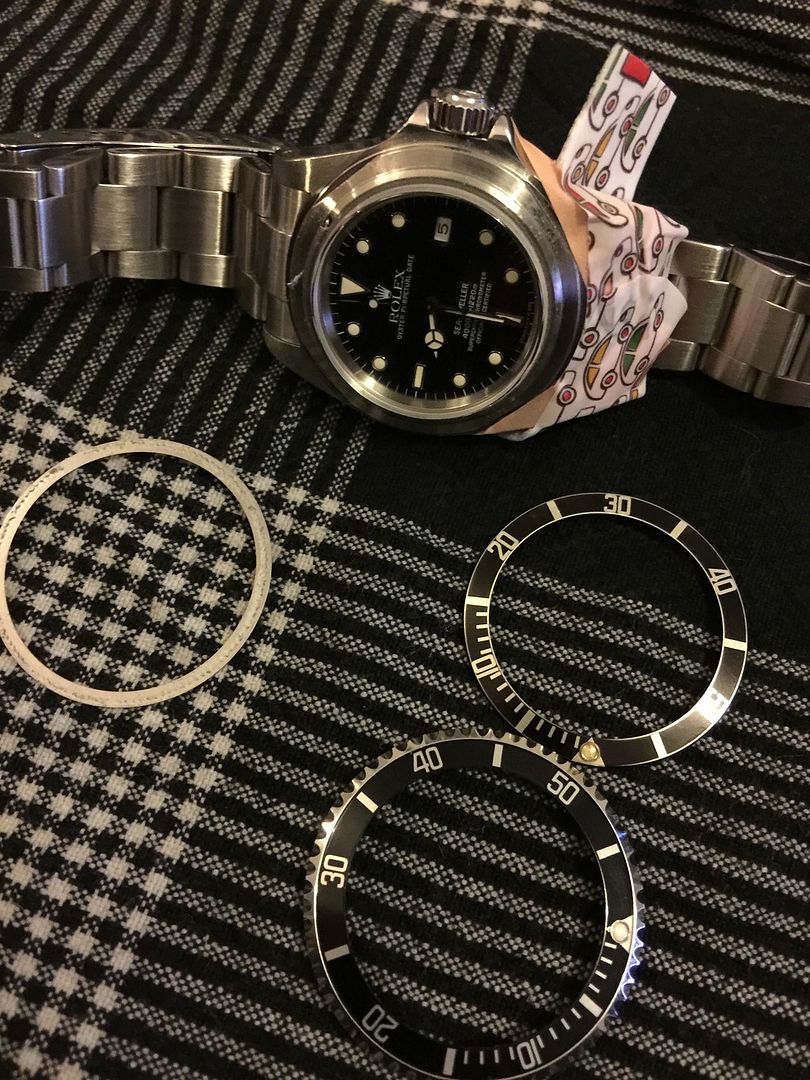
Underneath the bezel itself as a very thin steel ring.
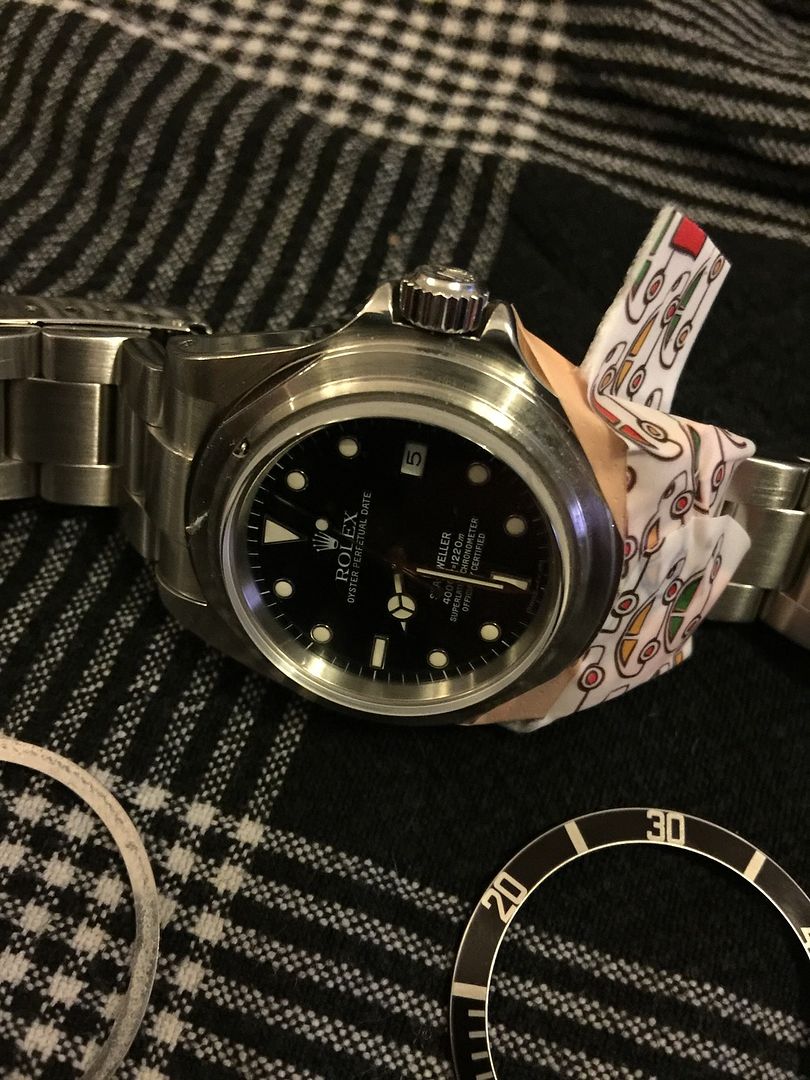
I took it off to give it a wipe round with a q-tip and took the opportunity to clean the case underneath it.
When you put the steel ring back, it sits underneath the piece of wire at 12.00
Dont lose that part as its the ratchet for the bezel.
On close inspection it's an L shaped wire, the long part slides into a hole and the short L part protrudes and clicks it's way round the bezel teeth on the inside.
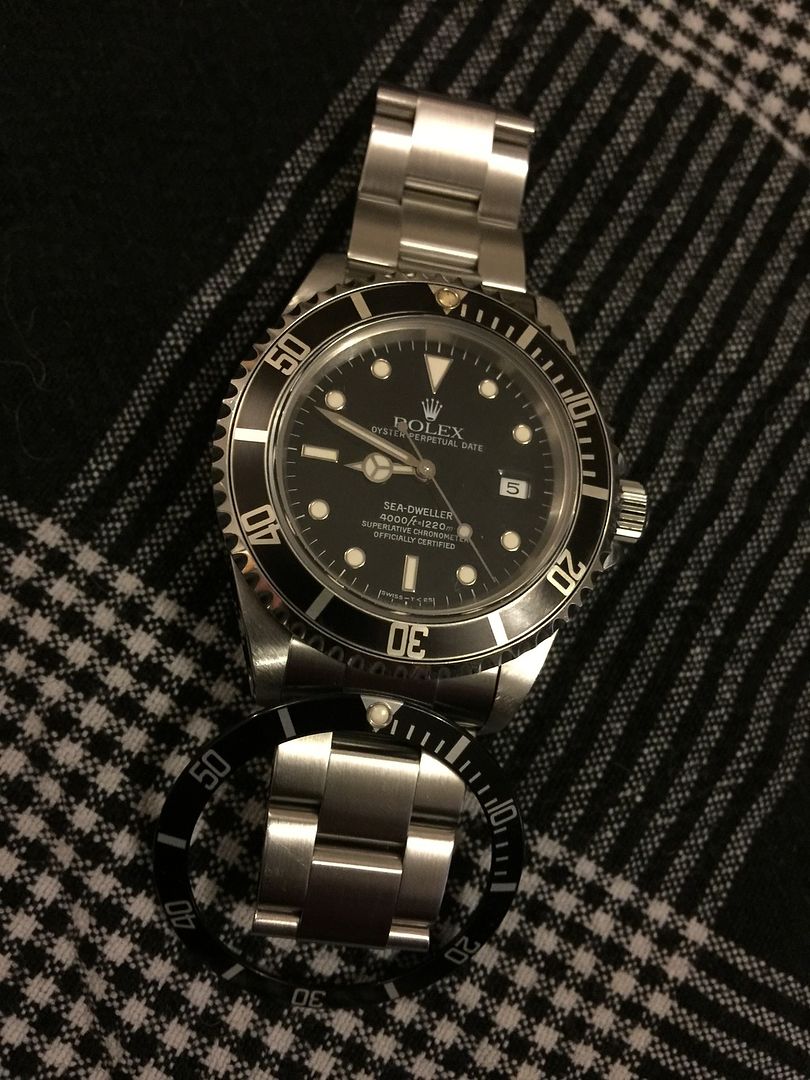
Below is the cleaned ring installed under the spring.
I didn't get photos of the next bit as I was doing it but..
To remove the current bezel insert put both thumbs at the back of the insert and push outwards.
The insert will pop out the front.
It's a good idea to take a photo of where the pip triangle sits between the grooves of the bezel so that you can line it up from a picture rather than remounting the whole thing and then having to re-do as the lume pip is just a half click off 12.00 and it makes you want to tear your eyes out.
After youve pushed old bezel out.. The replacement is installed by laying on top and pushing downwards.
I found that the first push gets it in, but after that, putting a cloth over the edge of a table and squishing it round 360 degrees against that works a treat as its difficult to push in using thumb force alone.
This is quite reassuring though since the final click into place is both noisy and satisfying. Not going to fall out anytime soon.
Once the insert is in, lie the whole unit on top of the case making sure that the L spring is inside it. I just slid it over the case from 12 and down to make sure that the spring was engaged with the inner teeth.
Hold in hands and push down hard with thumbs at 45 and 15. It will audibly click back into place and you can test it by giving it a good turn round the dial.
Check that the bezel insert is flush all round, and the mount is also flush to the case all round and you're good to go.
I would say if you've been in two minds about bezel switching but been nervous about doing it, just go for it.
This is literally an idiots guide. I managed it with zero drama and I don't even like changing lightbulbs.
Totally simple job and you feel like a legend for half an hour after successfully completing the mission. :-)




 Reply With Quote