


 Reply With Quote
Skill alert.


Hi Folks,
I stated to do this SBS a while back but never got round to writing it up so here goes. I'm no expert at strap making but this may help people who are looking to get into it.
This is going to cover a 20 -18mm strap size which I used to make. I actually prefer the shape of 20-16mm now but obviously the same principals apply.
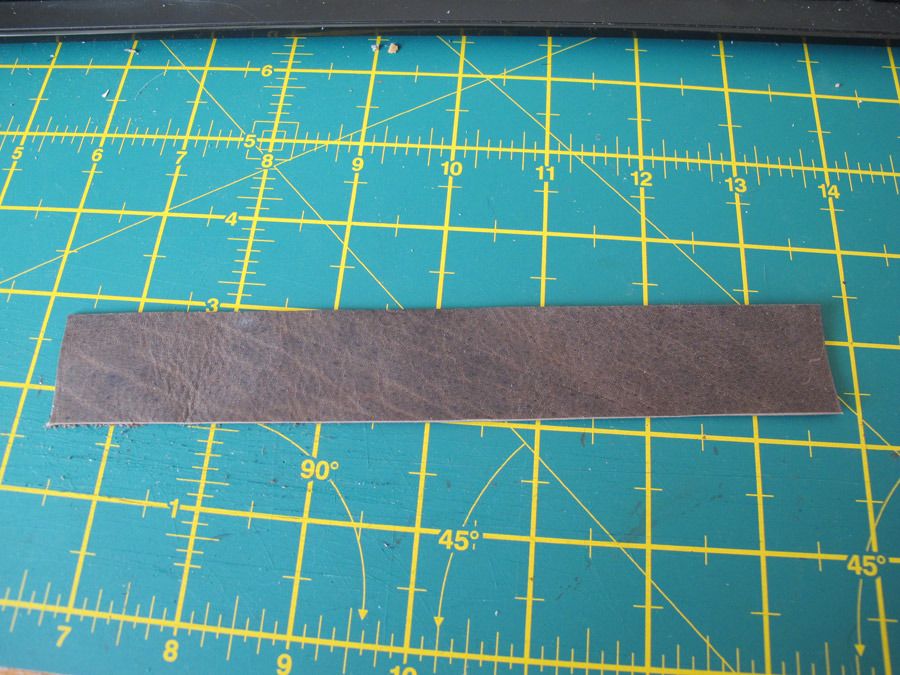
Im going to start off with a strip of leather about 1.3mm thick, 30mm wide and 120mm long.
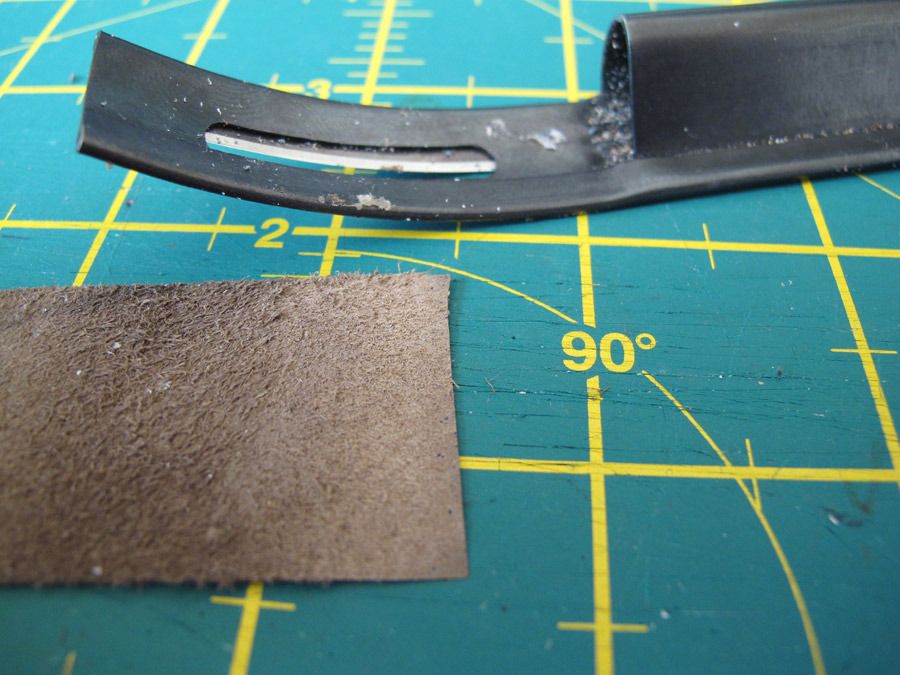
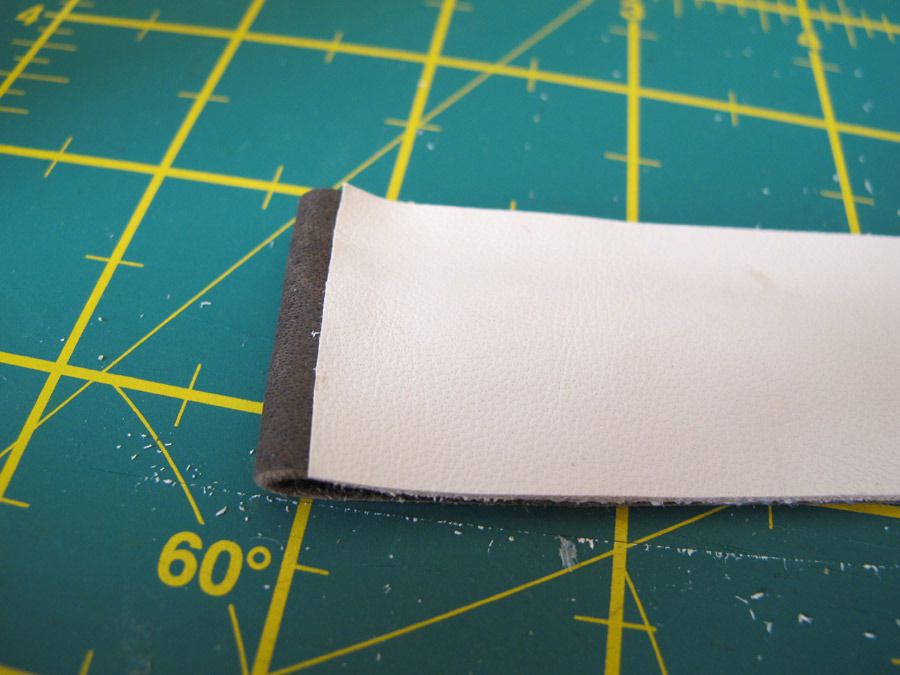
I skive one end down to fold over to make the loop for the springbar.
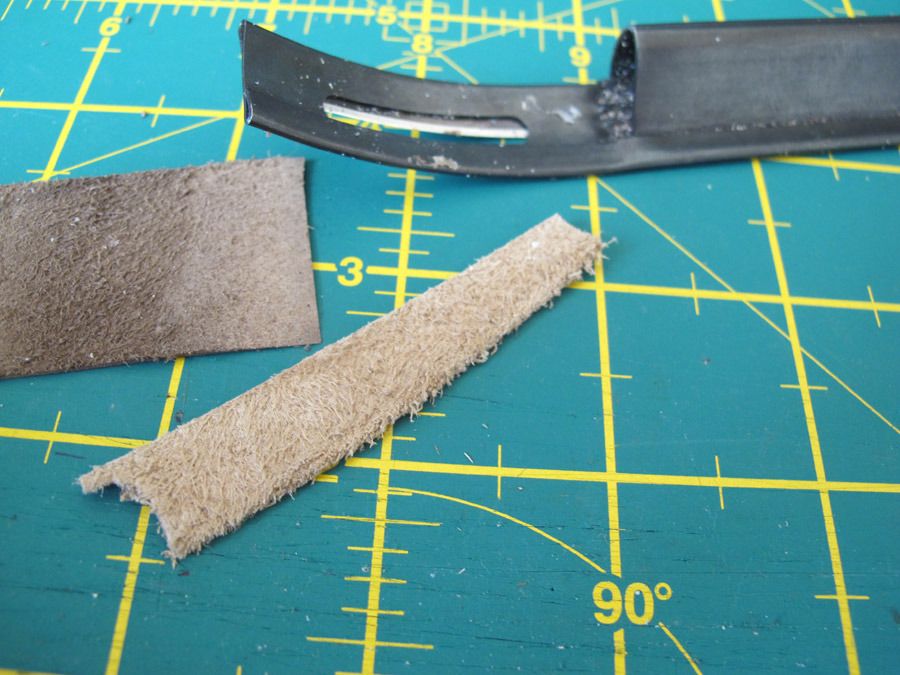
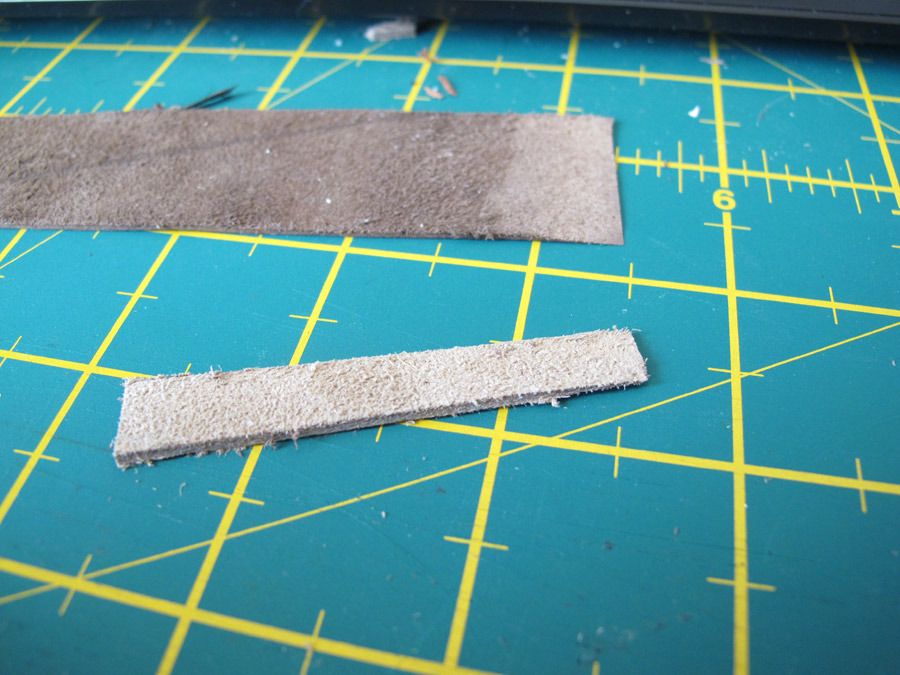
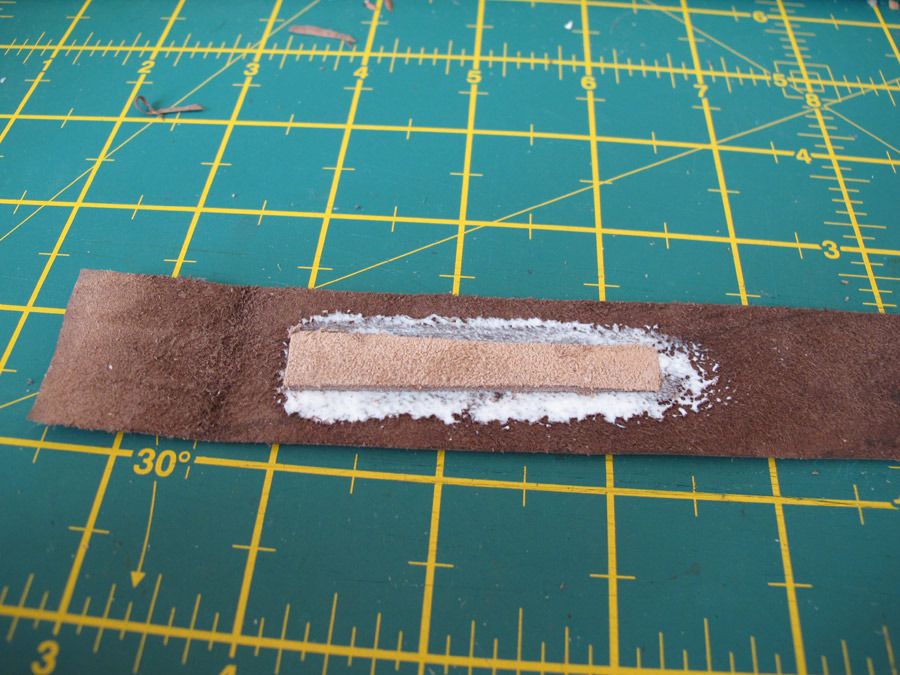
This strap is going to be padded so I cut the shape of the padding out of a thicker piece of leather/suede and skive this down in the direction of the bottom of the strap.
Next we glue this into place leaving enough leather above for the loop to fold back over.
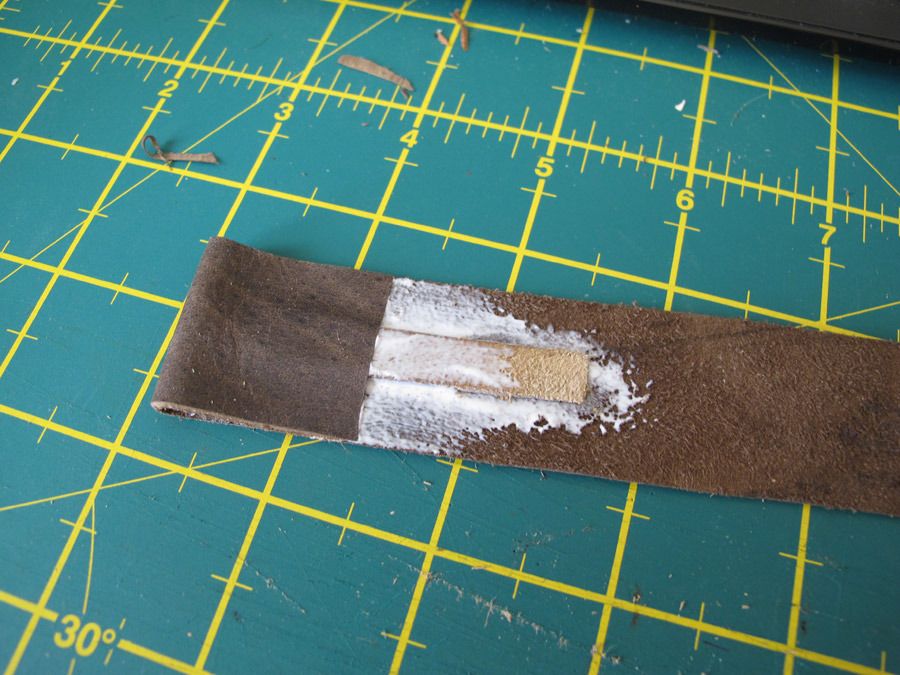
Once the padding has dried, fold the leather over and glue to create a loop. Don't forget to leave a small hole for the springbar.
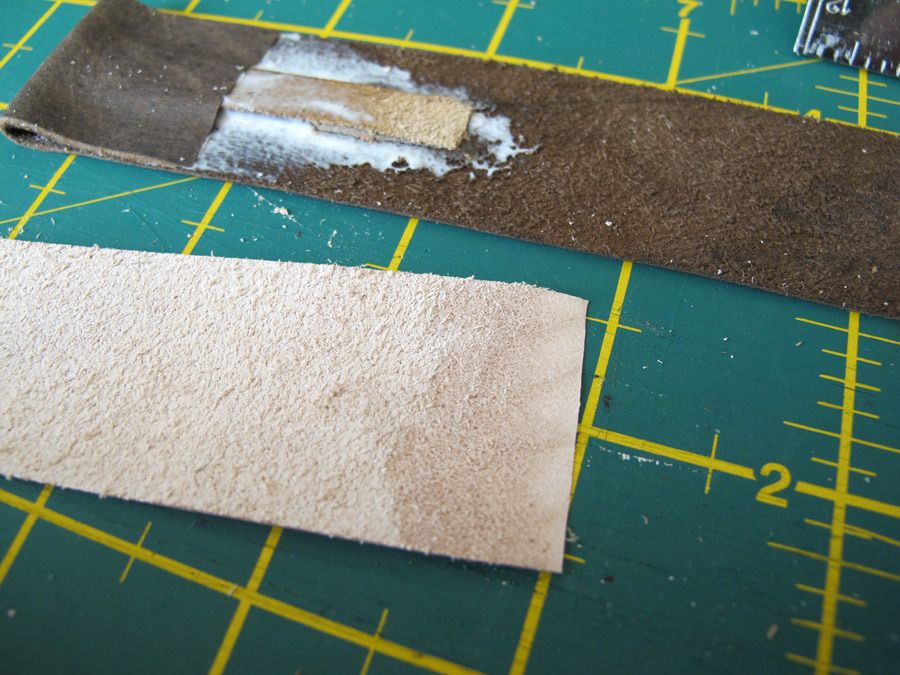
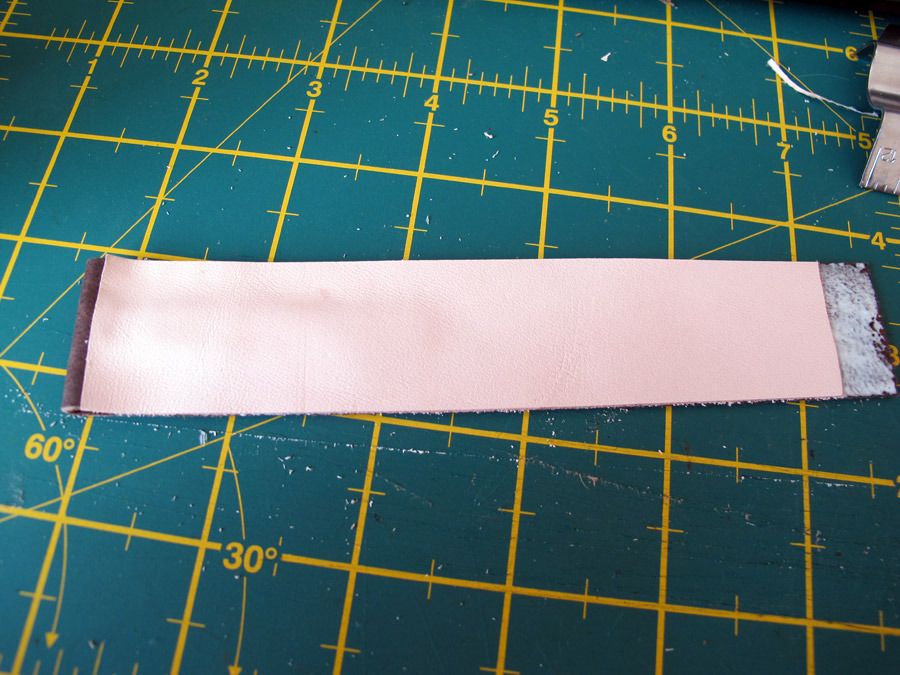
I'm now going to take a strip of thin veg tan leather to make the backing of the strap. This should be skived down at one end to create a smooth join when glued to the strap.
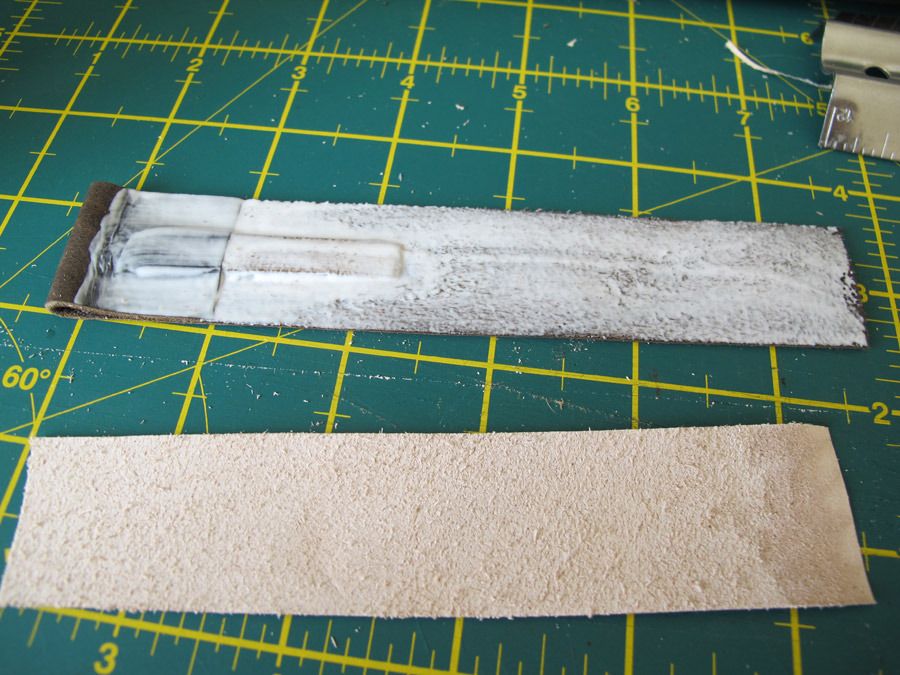
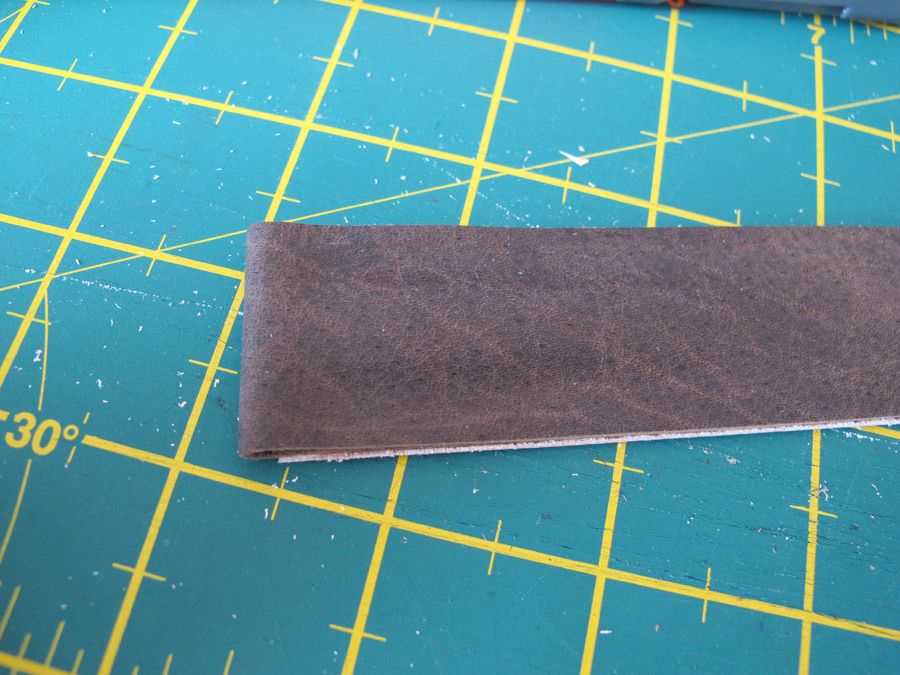
Next off I apply glue to the full length of strap so we can attach the backing.
Now attach the backing ensuring it is parallel with the top of the strap
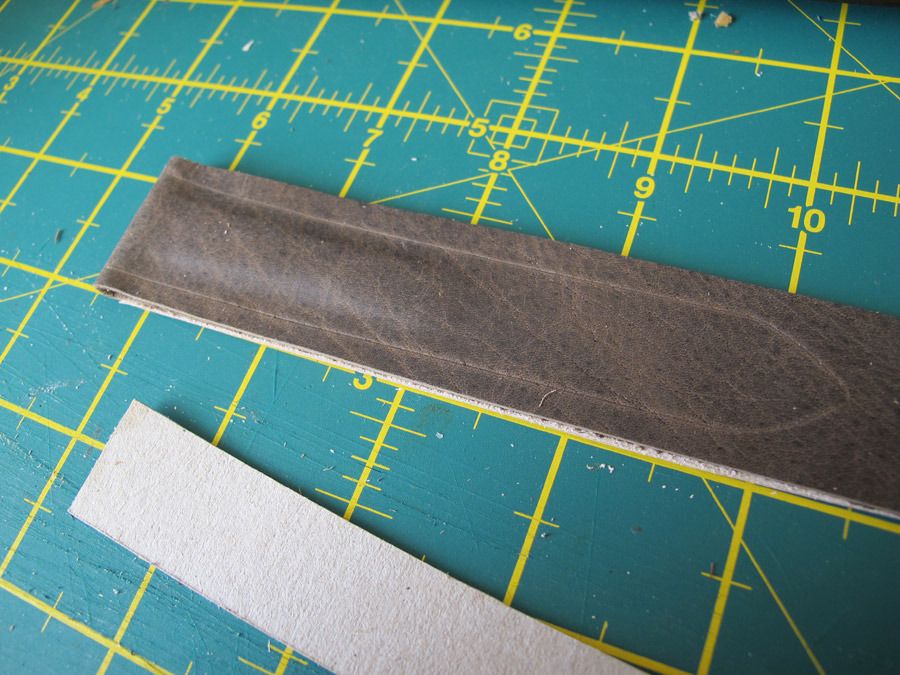
When the backing is attached place the strap face up and apply pressure around the raised padded area to ensure the glue is contacting all of the surfaces and to also bring out the profile of the padding. When the glue has set we will have the layers built up to start marking and cutting the watch shape.
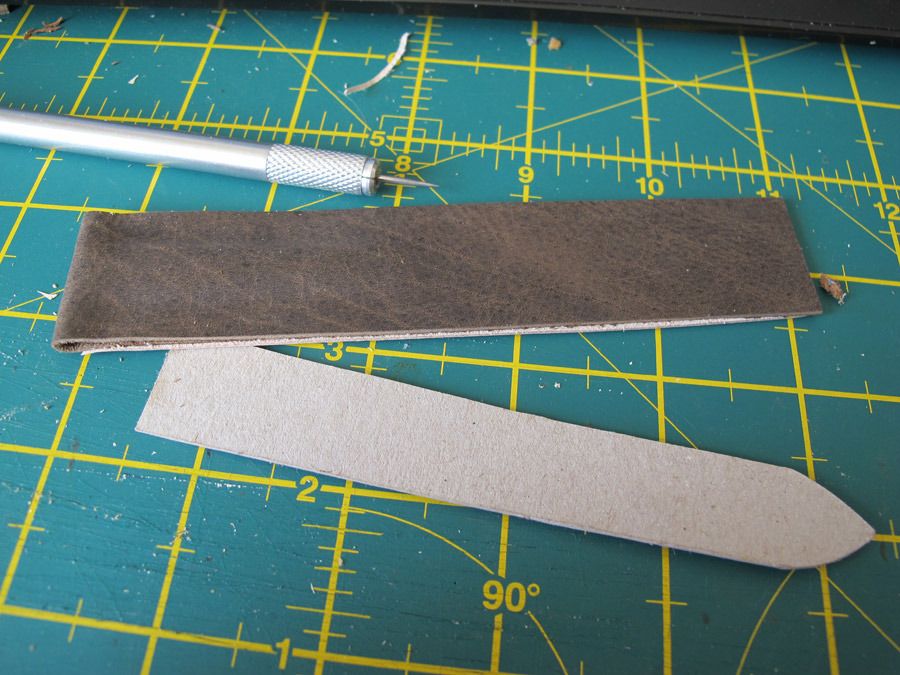
The next step is to mark out the shape for the strap. This can be quite tricky as you need to make sure it sits parallel with the padding and has an equal ammount of space either side. I use a precut template and prefer to mark the shape using something that will just scratch the leather rather than a pen which which would be difficult to remove if I got the shape out of line.
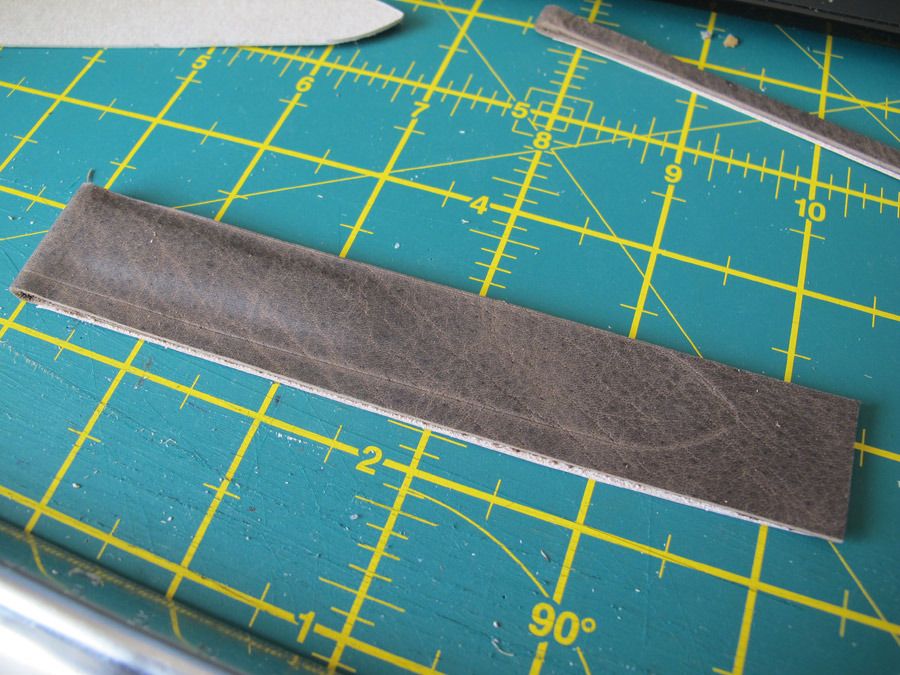
Now for the cutting. I use a metal straight edge and cheap craft knife with snap off blade. When doing an important cut such as this I generaly make sure I have just snapped off a new blade so it is as sharp as possible.
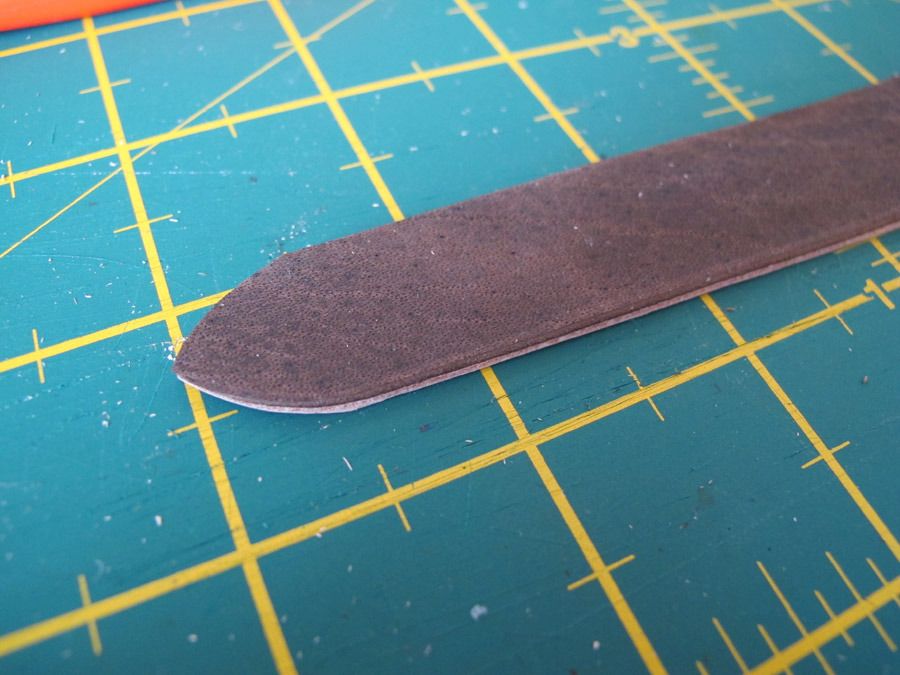
The same process for the bottom edge.
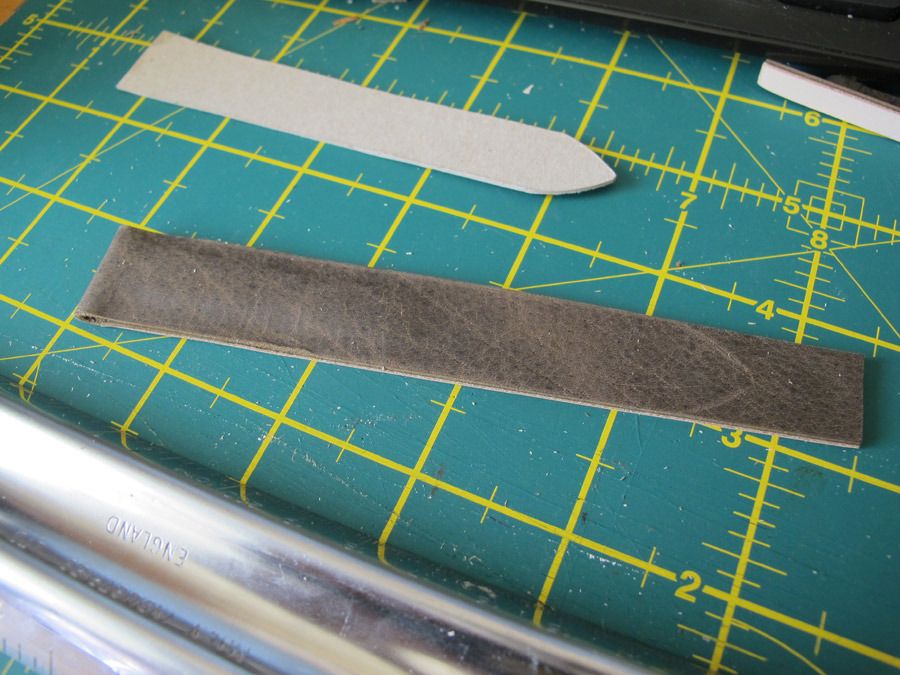
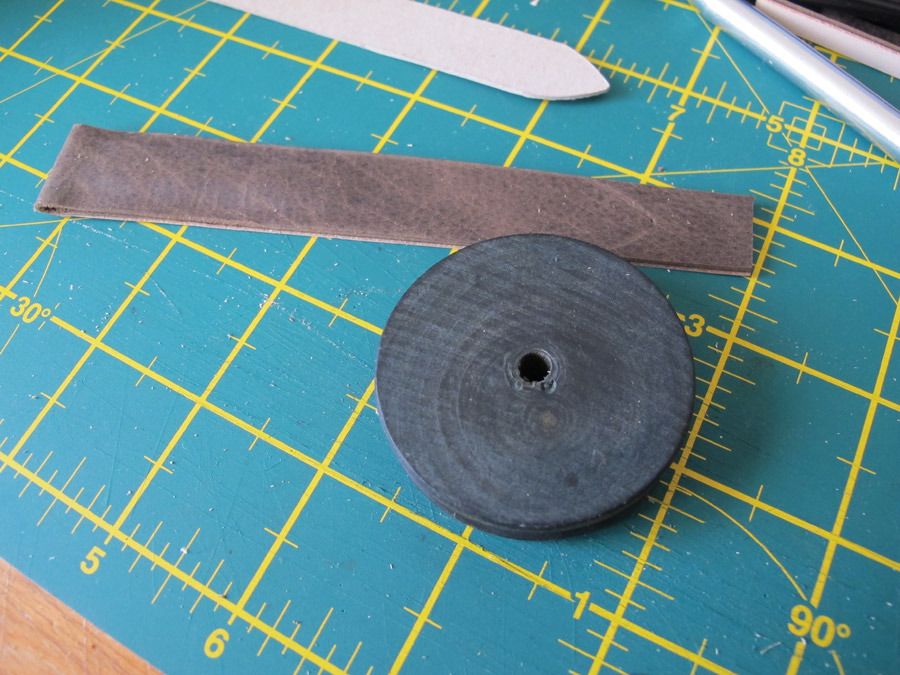
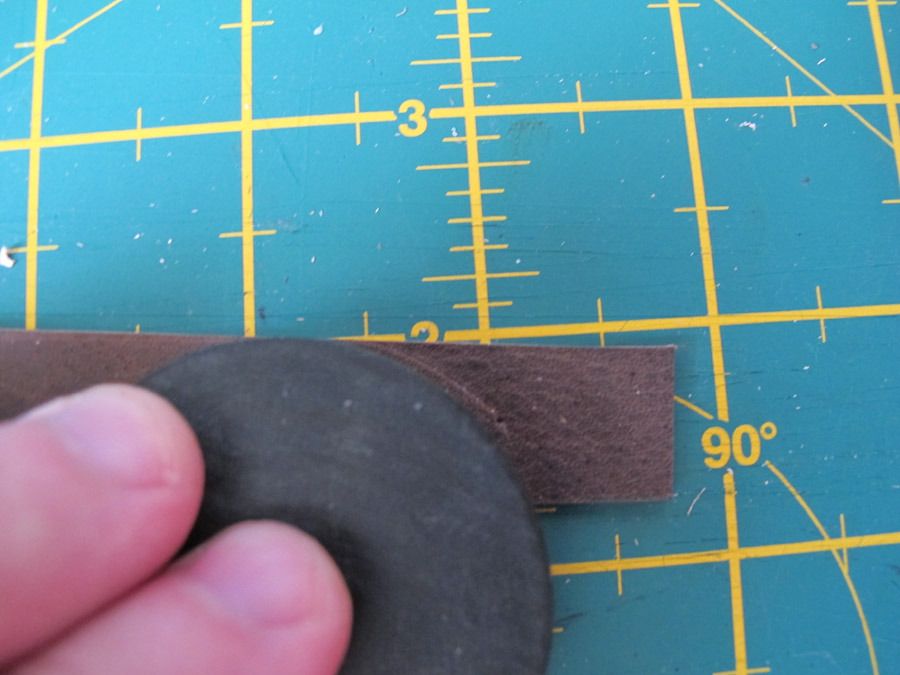
Foe the point of the strap I use a wooden burnishing wheel as the template. I guess you could use anything which has the same curve as you are trying to cut.
The first edge cut.
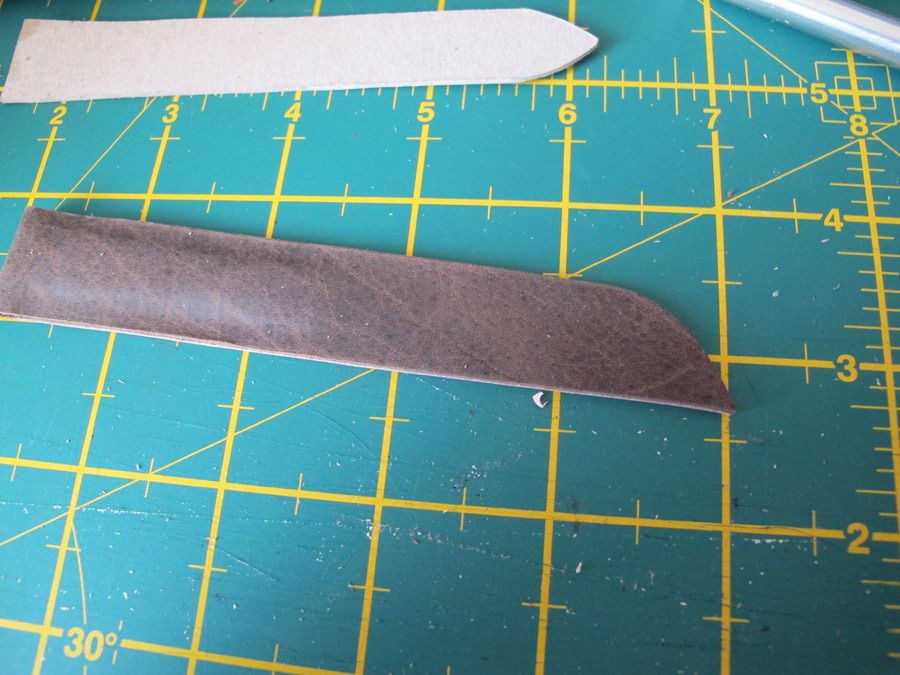
Second edge cut.
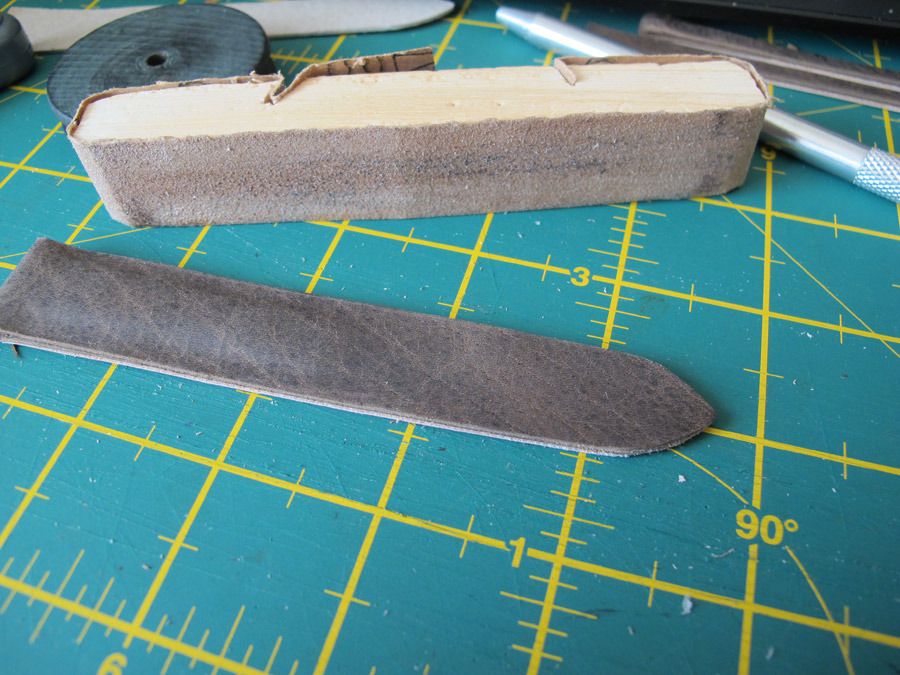
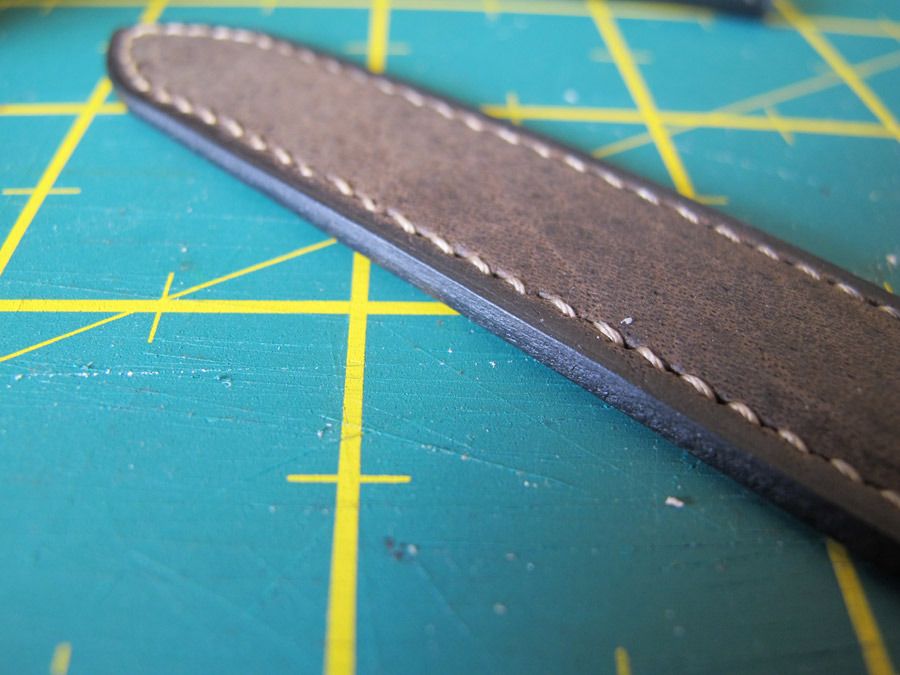
Next off we want to go round and tidy up the edges with a fine sandpaper.
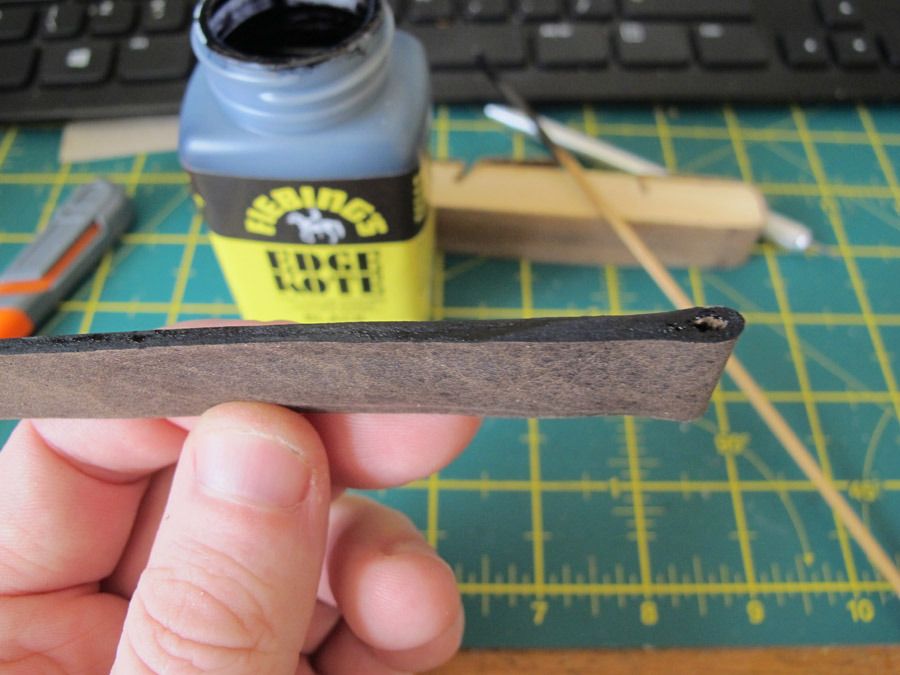
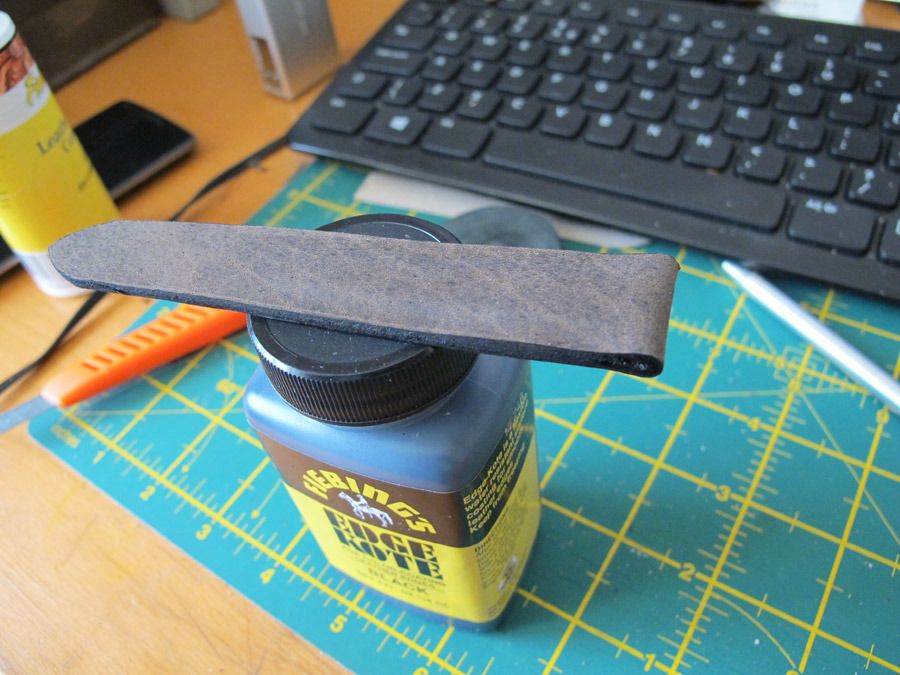
At this point I'm going to spend a bit of time on the edges. I've tried a few methods for edging and use a different approach depending on the leather and colour. For this im going to use black EdgeKote. This is acrylic and dries very quickly so is great to work with.
I usualy give the edge a few coats of Edgekote.
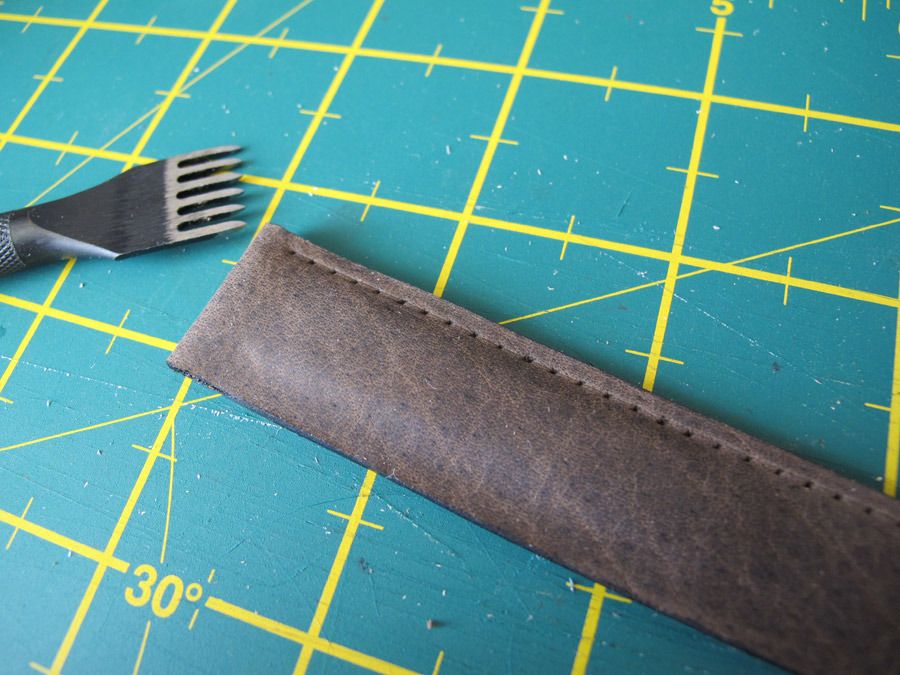
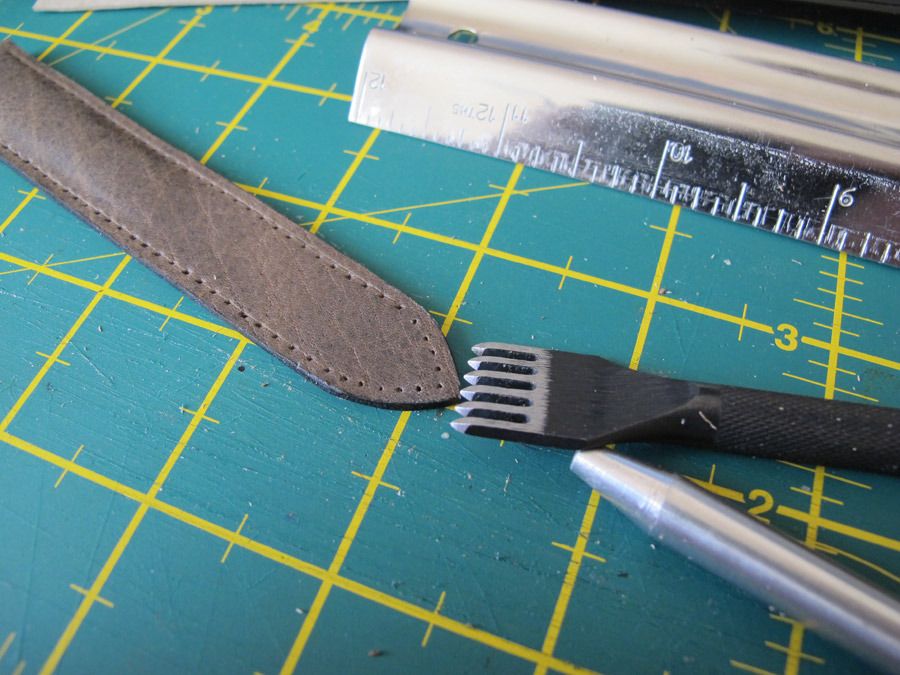
We will go back and do more work on the edges in a while but for now on to the stitching. I lightly score a line down the edge of the strap where I want to the stitches to go. I then bruise the leather with the stitch punch. The punch I'm using here is spaced at 1.5m which is quite fine.
Once I'm happy with the position of the bruise marks I use them as a guide to punch all of the way though the leather.
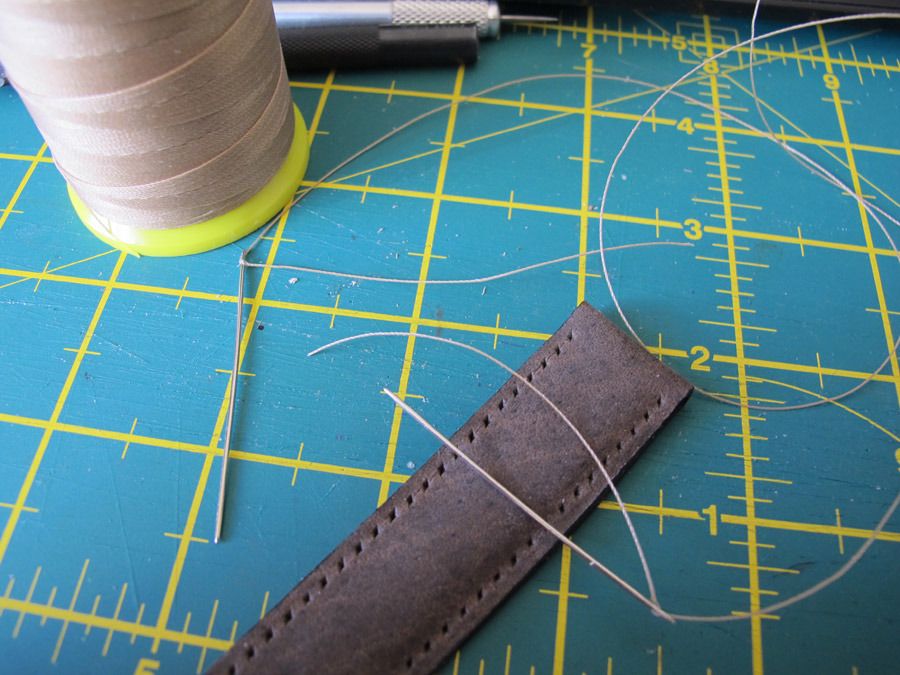
Now time for the stitching. I set up my needles to saddle stitch, wax the thread and we are ready to go. I can get stitched round one of the straps in just over 10 minutes.
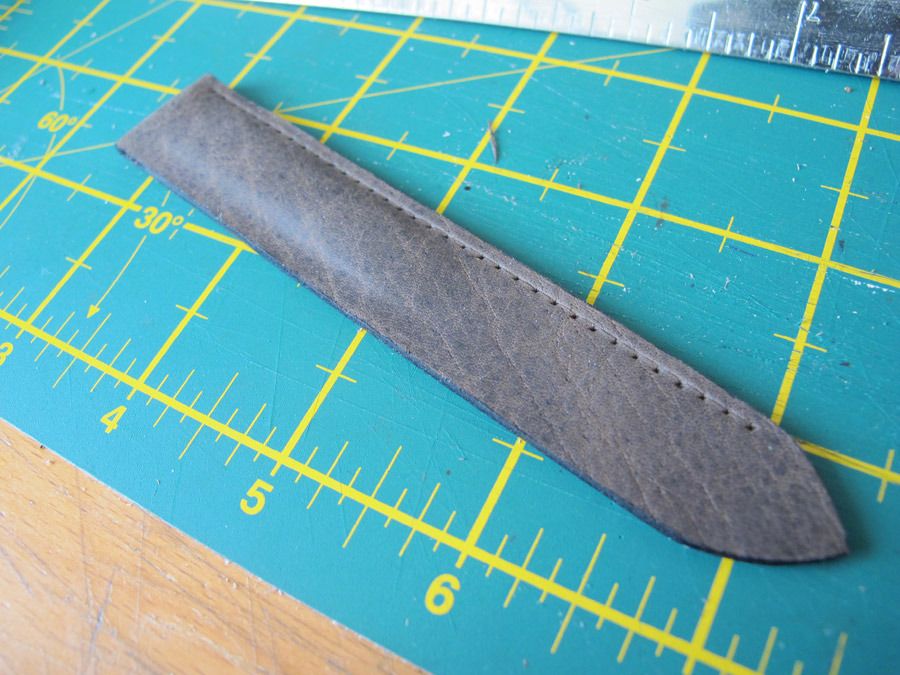
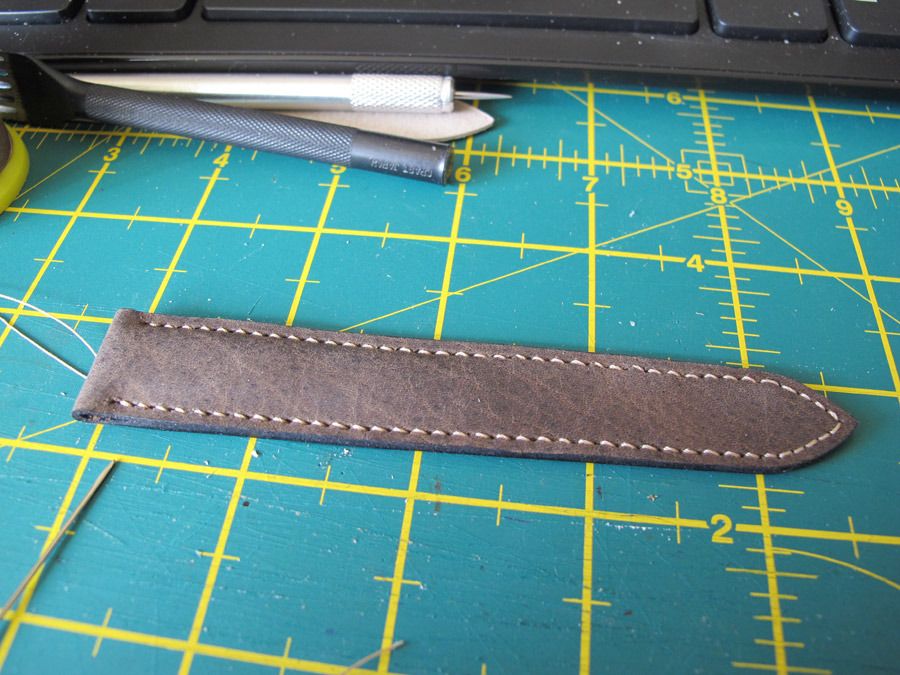
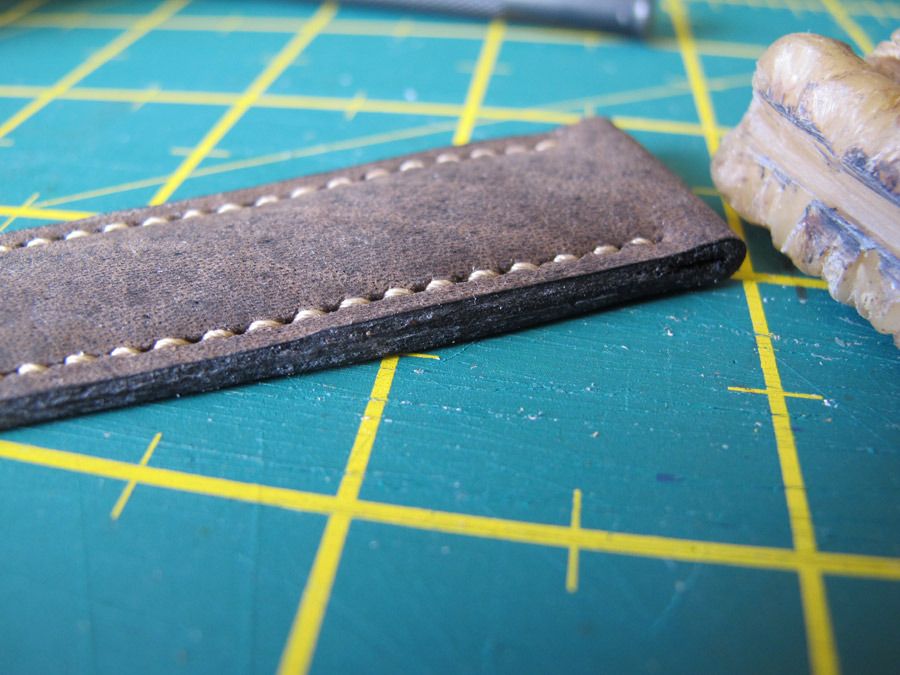
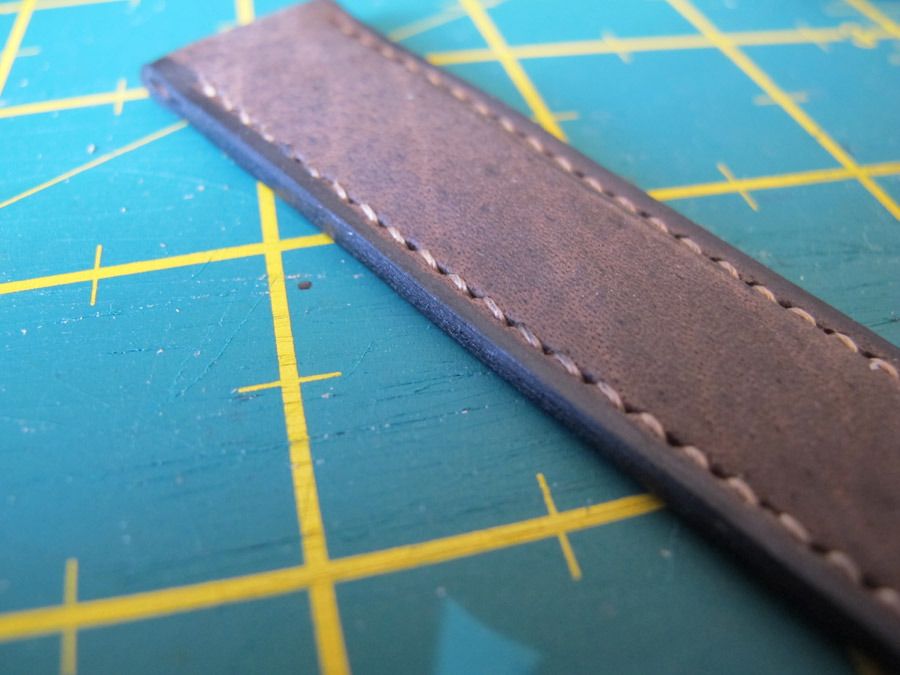
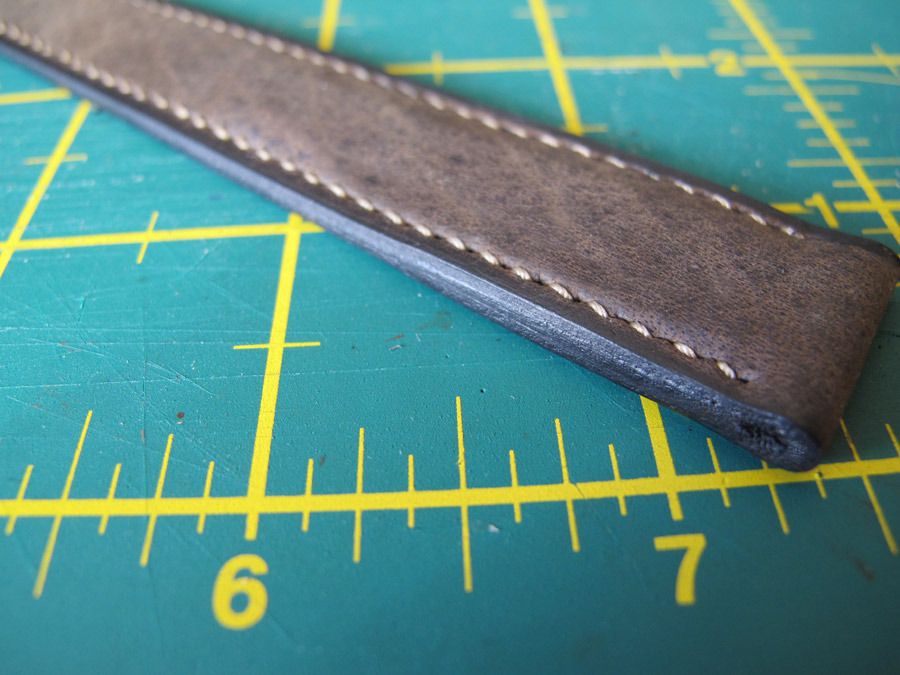
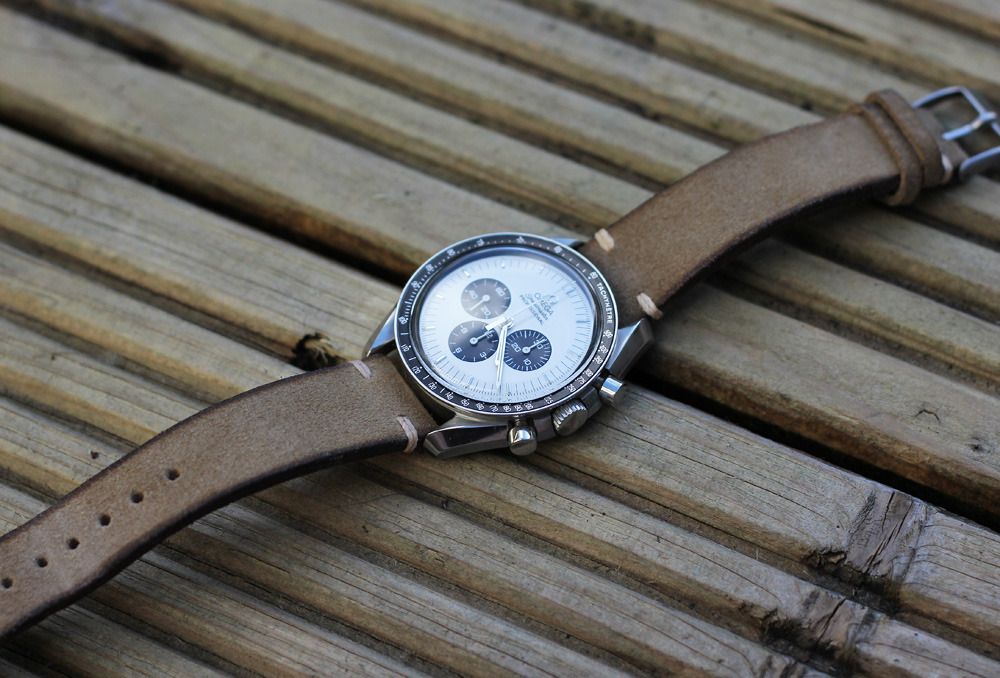
So here we are with the fully stitched strap.
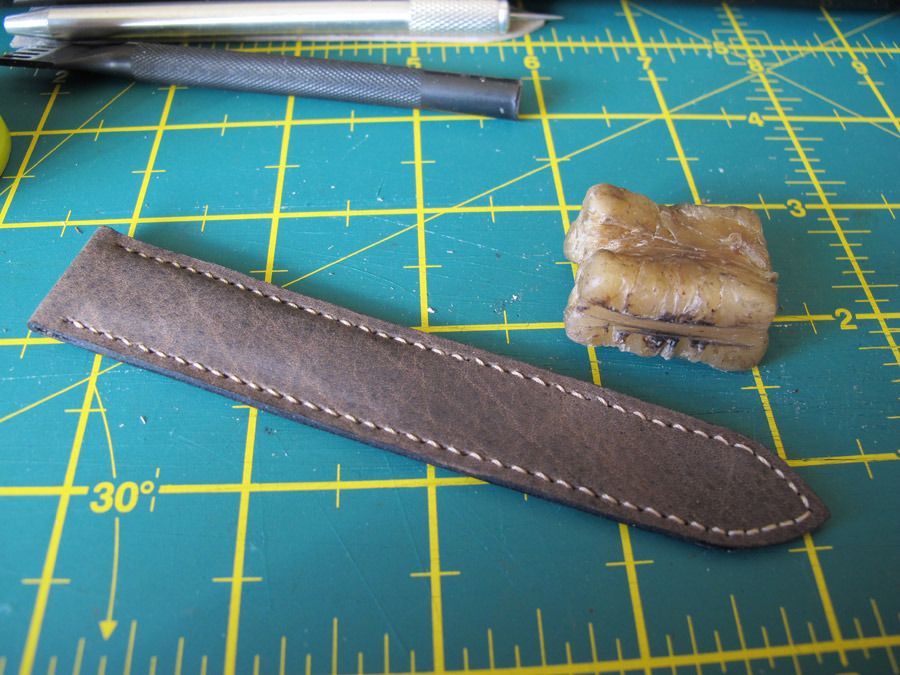
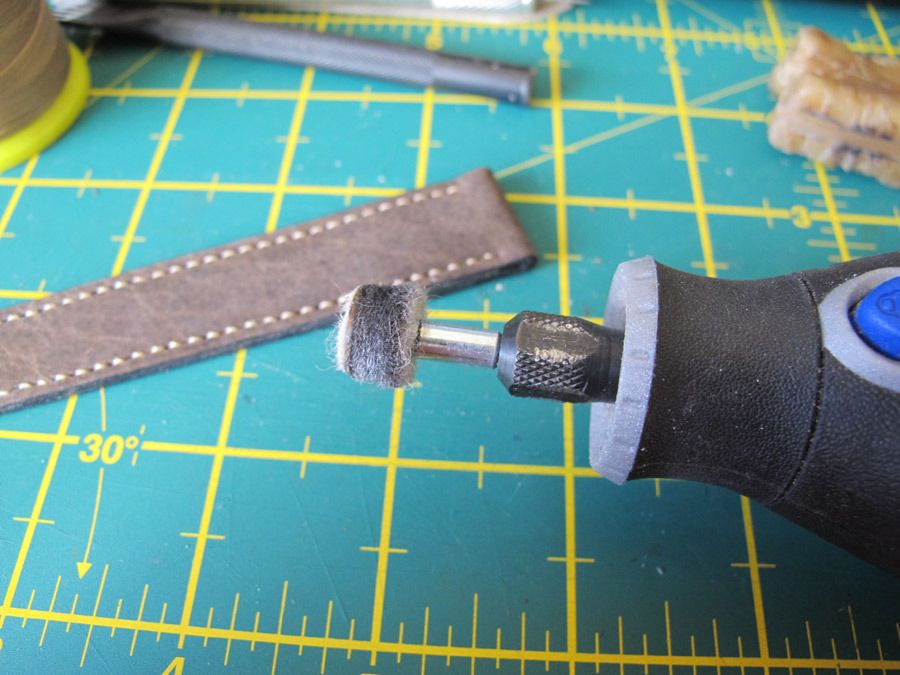
On to one of my favourite bits now, the bees wax and the Dremel. Run the wax down the edge of the strap a few times to give a good coating.
The get out the Dremel with the wool pad. I guess you could just use a wooden edge slicker to do this but I find the dremel much easier.
I use the Dremel and wax on the corner/top edge of the strap here which gives edge a smoother vintage look.
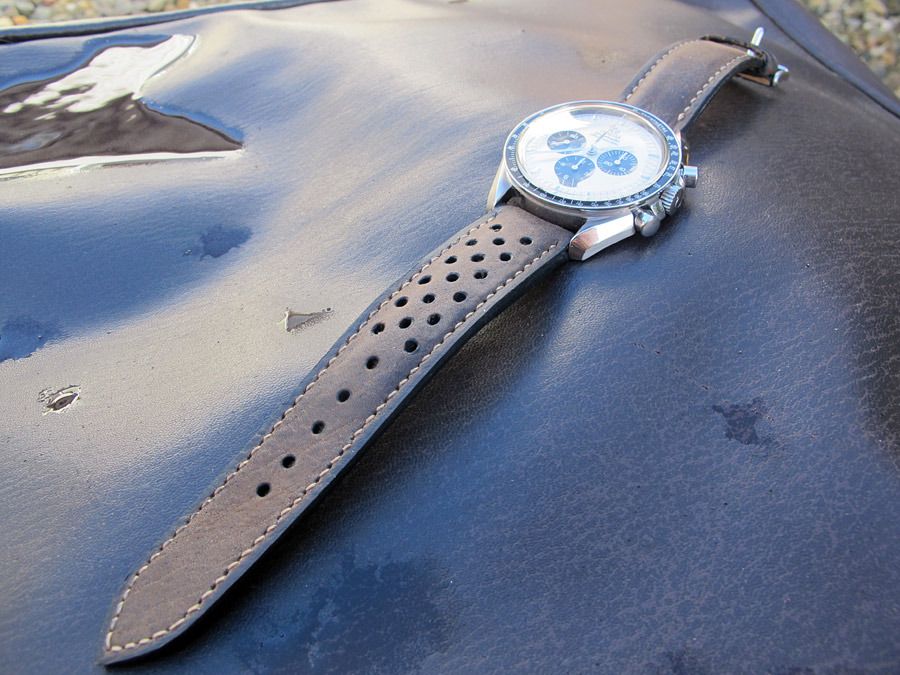
Well thats about it for now folks. I'm not going to bother with the hole punching as that's fairly obvious. On this particular strap I decidied to go rally and made a bit of a mess of it, in true Me style I got to the very last stage and made a fluff of it. It's quite tricky to get a straight punch through the padding.
Thank's for looking
Next one I'll be covering is a vintage style suede.
Last edited by Petewon; 23rd March 2015 at 17:51.

Skill alert.
Really interesting thread and great skills on display

Thats what i call skill. Great guide.

Excellent write up, thanks for posting.
F.T.F.A.
Excellent stuff - I'm looking forward to the suede installment.
Great right-up and step by step photo's - wonderful
Superb stuff, I really enjoyed that.
I admire your skill.
Dave
Very interesting , thanks for posting.
Superb tutorial and the strap looks superb.
Thanks.
wow
both, tutorial and output are awesome!
Thanks for this. I think it's very generous when people share their skills and technique like this. I'm slowly edging towards making some straps for myself so this is very useful.
Thanks for showing how to make a fantastic strap it also makes me appreciate the cost of some custom made straps given the time and effort. I made some simple leather a loops with an adjuster for a rucksack and it was a nightmare to cut the leather straight. I got there in the end but with a lot of wasted leather and time. You have real skills. V impressed.
Thanks for the feedback everyone. Much appreciated.
I've got the pictures taken for the next one and just need to get it written up.
Cheers.
You make it look so easy with write up and photos I suspect to get any where near that will take huge amount of practice
Great work
Quality reading, nice one Pete!
 Posting Permissions